
ComfyUI Node: Pixelization
Pixelization
Categoryimage
filipemeneses (Account age: 3761days) Extension
Pixelization Latest Updated
2025-03-14 Github Stars
0.05K
How to Install Pixelization
Install this extension via the ComfyUI Manager by searching for Pixelization- 1. Click the Manager button in the main menu
- 2. Select Custom Nodes Manager button
- 3. Enter Pixelization in the search bar
Visit ComfyUI Online for ready-to-use ComfyUI environment
- Free trial available
- 16GB VRAM to 80GB VRAM GPU machines
- 400+ preloaded models/nodes
- Freedom to upload custom models/nodes
- 200+ ready-to-run workflows
- 100% private workspace with up to 200GB storage
- Dedicated Support
Pixelization Description
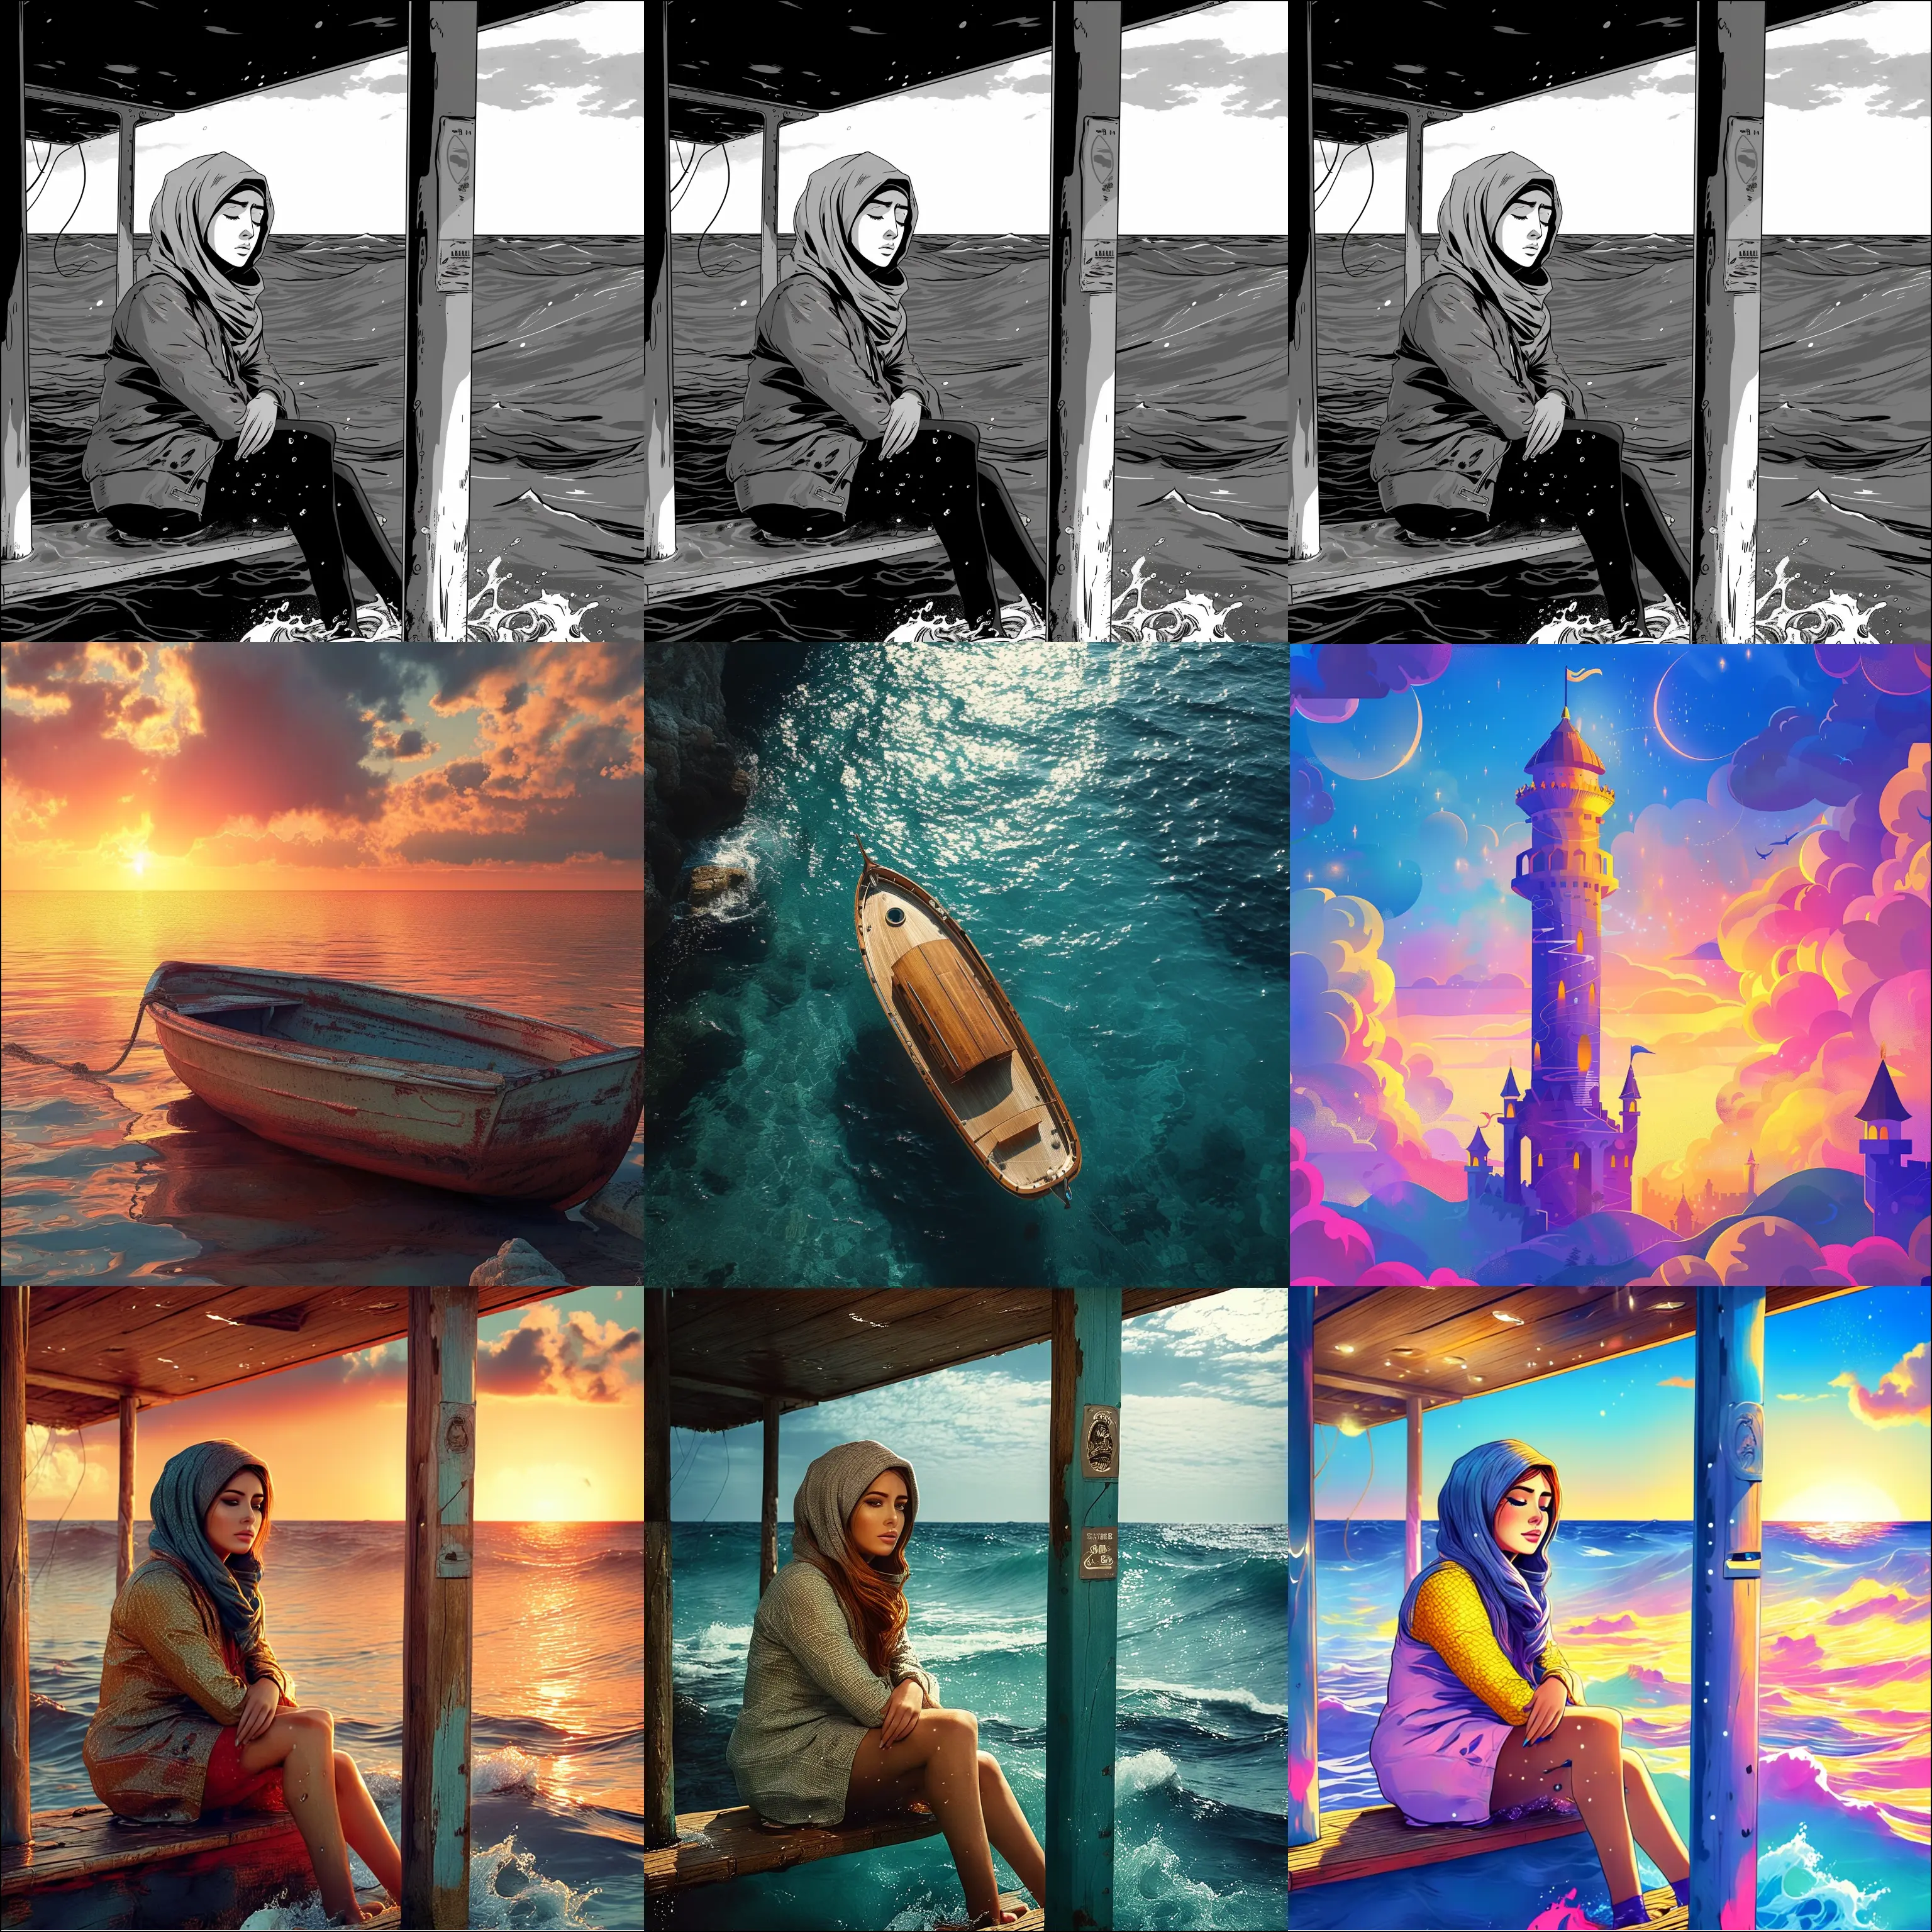
Transform images into retro pixelated style using advanced machine learning for AI artists, simplifying visual complexity efficiently.
Pixelization:
The Pixelization node is designed to transform images into a pixelated style, reminiscent of retro video games or pixel art. This node leverages advanced machine learning models to achieve high-quality pixelation effects, making it a powerful tool for AI artists looking to add a unique, stylized touch to their images. By converting images into a grid of colored blocks, the Pixelization node simplifies the visual complexity, which can be particularly useful for creating artistic effects, reducing image details for stylistic purposes, or preparing images for specific types of digital art projects. The node ensures that the pixelation process is efficient and produces visually appealing results, even when upscaling the final image.
Pixelization Input Parameters:
image
This parameter represents the input image that you want to pixelate. The image should be provided in a format that the node can process, typically as an array or a compatible image object. The quality and resolution of the input image can affect the final pixelated output, so using a high-quality source image is recommended for the best results.
pixel_size
The pixel_size parameter determines the size of the individual pixels in the pixelated image. It is an integer value that can range from 1 to 16, with a default value of 4. A smaller pixel size will result in a more detailed pixelated image, while a larger pixel size will create a more abstract and blocky effect. Adjusting this parameter allows you to control the granularity of the pixelation to suit your artistic needs.
Pixelization Output Parameters:
IMAGE
The output of the Pixelization node is a list of pixelated images. Each image in the list corresponds to a processed version of the input image, transformed according to the specified pixel size. The output images retain the overall structure and color scheme of the original image but are rendered in a pixelated style, making them suitable for various creative applications.
Pixelization Usage Tips:
- Experiment with different
pixel_sizevalues to achieve the desired level of detail and artistic effect in your pixelated images. - Use high-resolution input images to ensure that the pixelation process produces clear and visually appealing results.
- Consider the final use case of the pixelated image when choosing the
pixel_size. For example, larger pixel sizes may be more suitable for creating backgrounds or abstract art, while smaller pixel sizes can be used for more detailed and recognizable pixel art.
Pixelization Common Errors and Solutions:
Model not loaded
- Explanation: This error occurs when the pixelization model has not been loaded properly before processing the image.
- Solution: Ensure that the model is correctly initialized and loaded by checking the initialization code and confirming that the model files are in the correct location.
Invalid pixel size
- Explanation: This error happens when the
pixel_sizeparameter is set to a value outside the allowed range (1 to 16). - Solution: Adjust the
pixel_sizeparameter to a value within the valid range. The default value is 4, and you can set it to any integer between 1 and 16.
Image processing error
- Explanation: This error can occur if there is an issue with the input image format or if the image cannot be processed correctly.
- Solution: Verify that the input image is in a compatible format and that it is not corrupted. Ensure that the image is properly loaded and passed to the node.
Device not found
- Explanation: This error indicates that the specified device (e.g., GPU) for running the model is not available or not recognized.
- Solution: Check the device configuration and ensure that the necessary hardware (such as a compatible GPU) is available and properly configured. If using a CPU, make sure the code is set to use the CPU instead.
Pixelization Related Nodes
RunComfy is the premier ComfyUI platform, offering ComfyUI online environment and services, along with ComfyUI workflows featuring stunning visuals. RunComfy also provides AI Models, enabling artists to harness the latest AI tools to create incredible art.