Product Relighting | Magnific.AI Relight Alternative
Discover a powerful alternative to Magnific.AI Relight with this ComfyUI Product Relighting workflow. This workflow allows you to achieve stunning results with ease. Customize the subject, background, and lighting to create polished, professional images that captivate your audience.ComfyUI Product Relighting Workflow
- Fully operational workflows
- No missing nodes or models
- No manual setups required
- Features stunning visuals
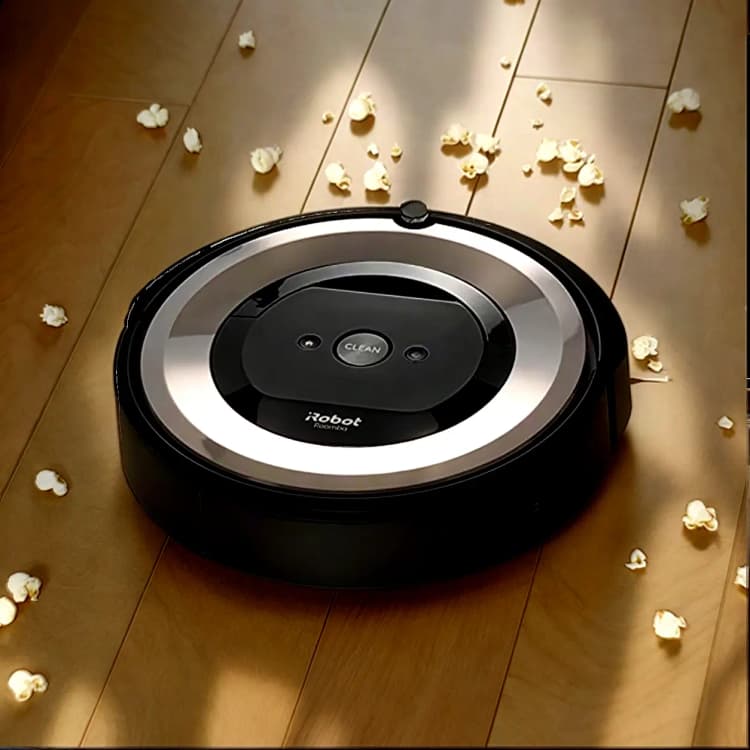
ComfyUI Product Relighting Examples


ComfyUI Product Relighting Description
This powerful workflow has been meticulously designed to simplify the complex process of relighting products, empowering you to achieve stunning results with ease. By providing a user-friendly interface and minimizing the required inputs, this workflow allows you to focus on your creative vision while the backend takes care of the intricate tasks of relighting and color matching the subject, background, and lighting.
User Inputs | ComfyUI Product Relighting Workflow
To begin your relighting journey, the workflow is conveniently divided into three main input groups:
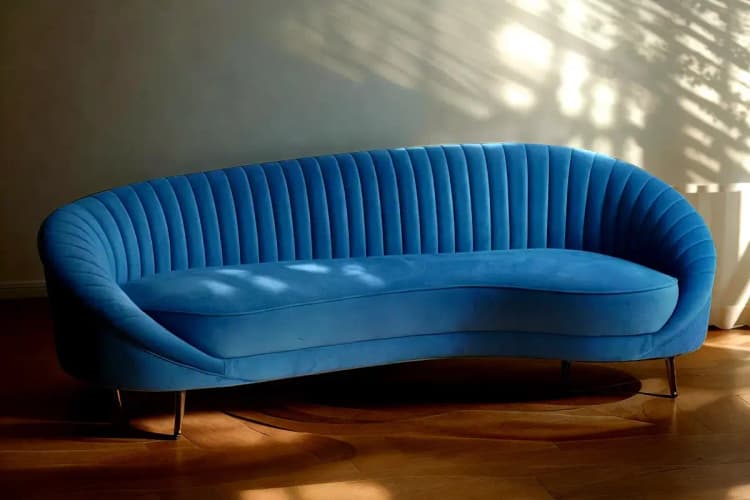
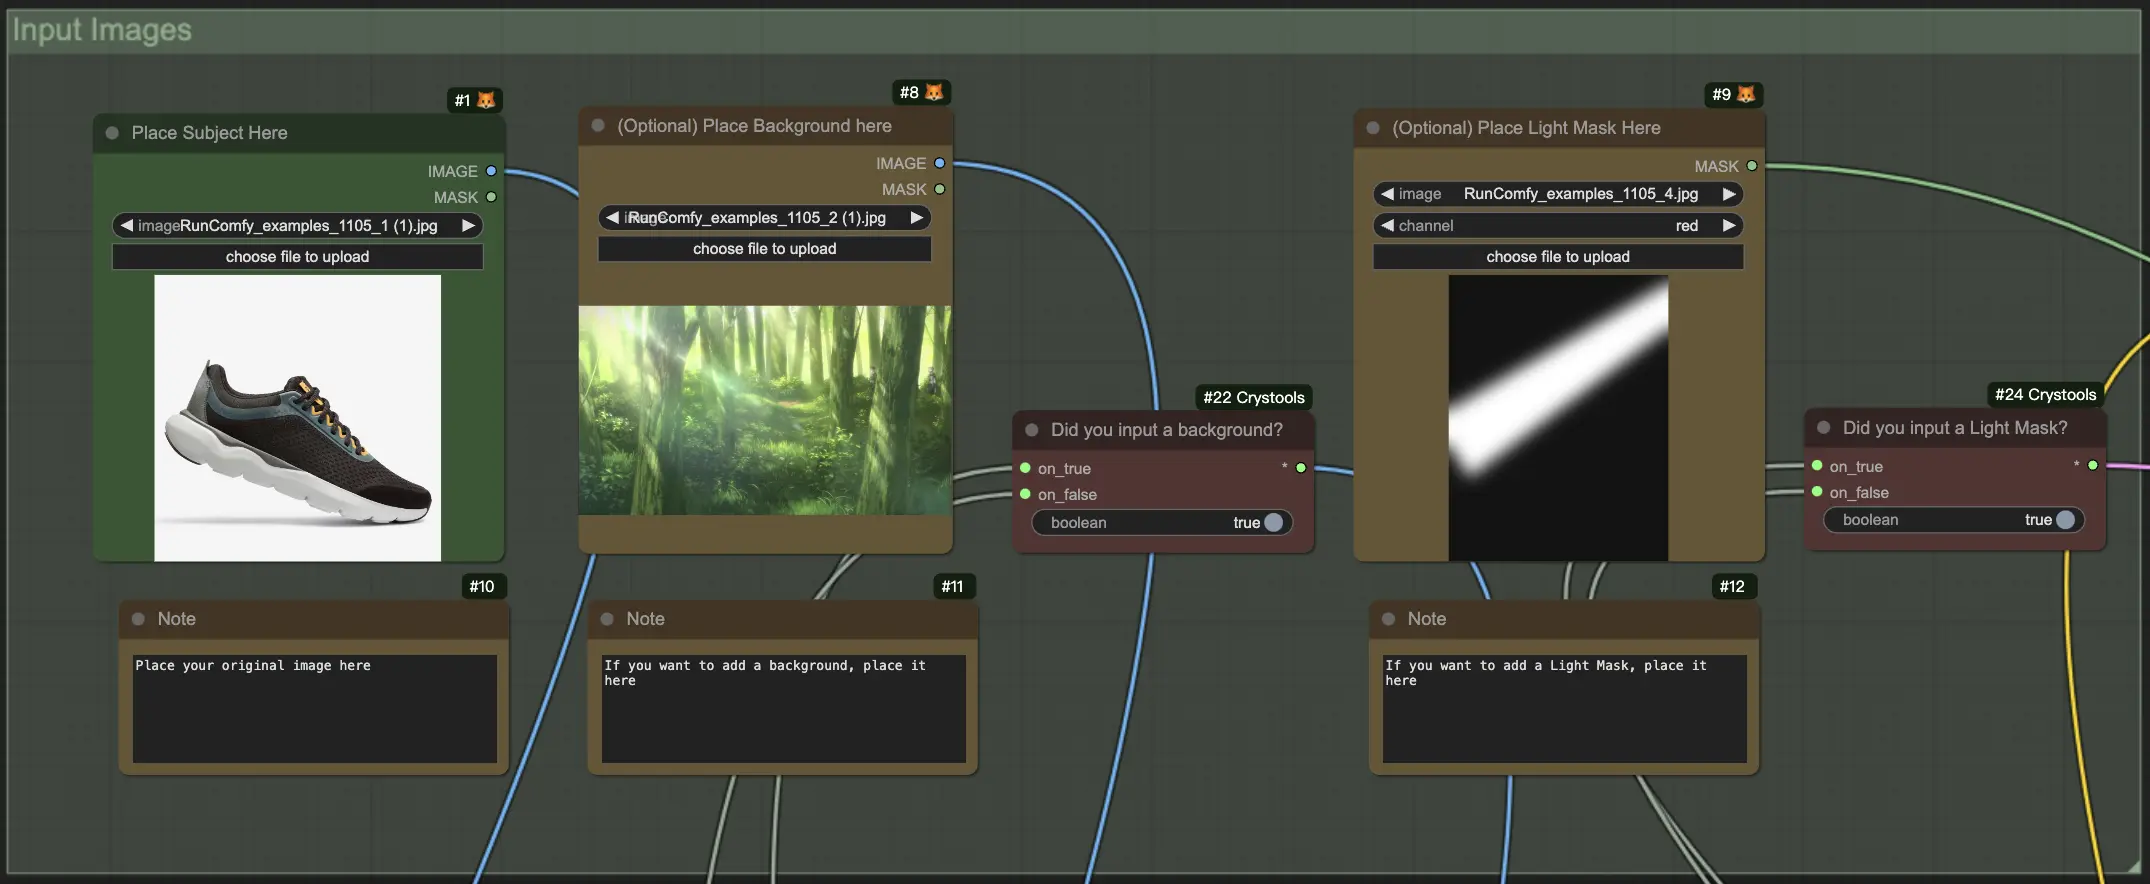
1. Input Images: In this group, you have the opportunity to upload the essential images that will serve as the foundation for the relighting process.
- Subject Image (required): This is the star of the show – the main product image that you wish to relight. Ensure that your subject image is of high quality and clearly showcases the product you want to enhance.
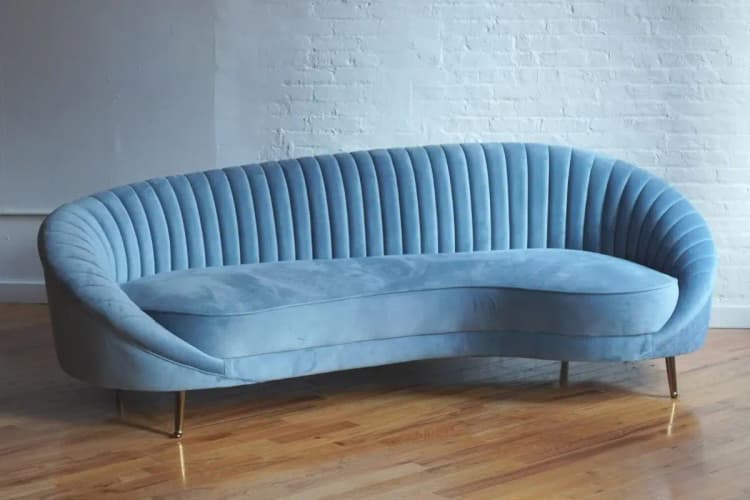
- Background (optional): If you have a specific background in mind for your final result, you can provide an image here. This allows you to create a cohesive and visually appealing composition.
- Light Mask (optional): For more advanced relighting control, you can upload a light mask image that precisely defines the areas where the lighting should be applied. This is particularly useful when you want to emphasize certain aspects of your product or create specific lighting effects.
- Background Switch: If you have provided a background image, make sure to set this switch to "True" to ensure that the workflow incorporates your chosen background seamlessly.
- Light Mask Switch: Similarly, if you have uploaded a light mask image, set this switch to "True" to enable the workflow to utilize your custom lighting setup.
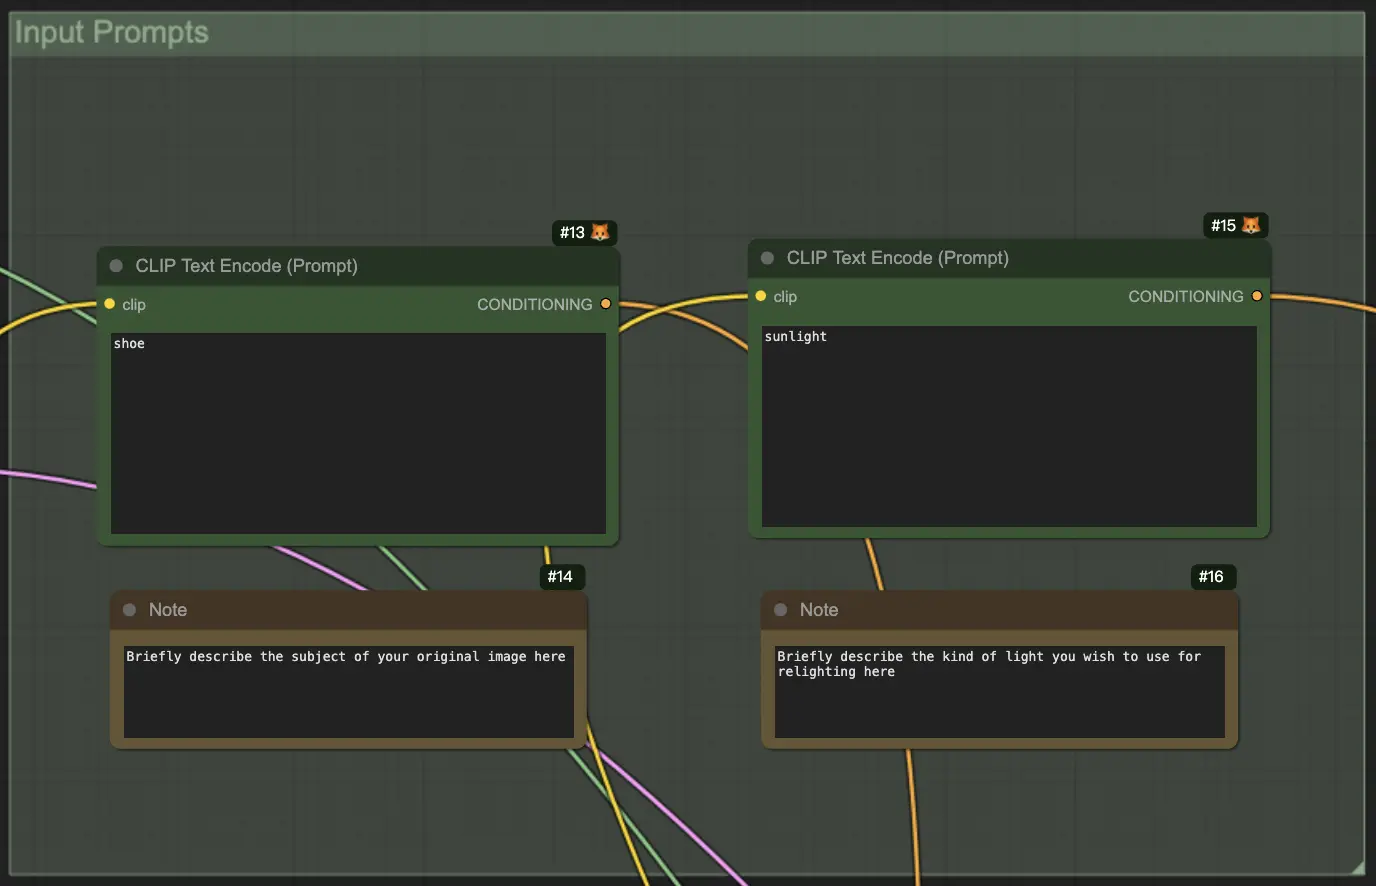
2. Input Prompts: In this group, you have the power to guide the relighting process by providing concise textual descriptions.
- Product Description: Briefly describe the product you are relighting. For example, "a red leather handbag" or "a sleek silver wristwatch." This description helps the workflow understand the nature of your product and optimize the relighting accordingly.
- Light Description: Use your creative vision to describe the desired lighting effect you want to achieve. Be as specific as possible, such as "soft, warm golden hour light" or "dramatic, cool blue spotlights." This description will serve as a guiding light for the workflow to create the perfect ambiance for your product.
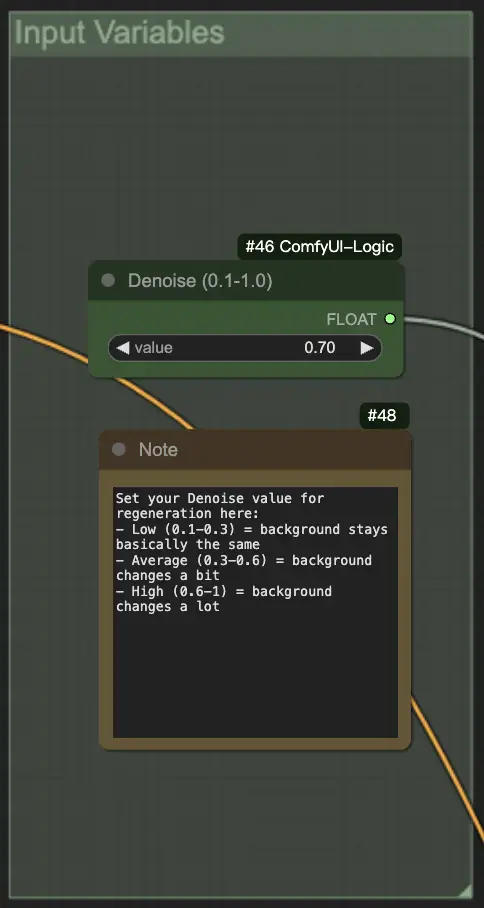
3. Input Variables: In this group, you have the ability to control the extent of background changes during the relighting process.
- Denoise Value: This powerful variable allows you to determine how much the background should be altered. A higher value will result in more significant changes, while a lower value will preserve more of the original background.
The workflow automatically adjusts the dimensions and aspect ratios of the input images to ensure compatibility.
Results | ComfyUI Product Relighting Workflow
After the workflow has worked its magic, you will be presented with two stunning images in the Results Group:
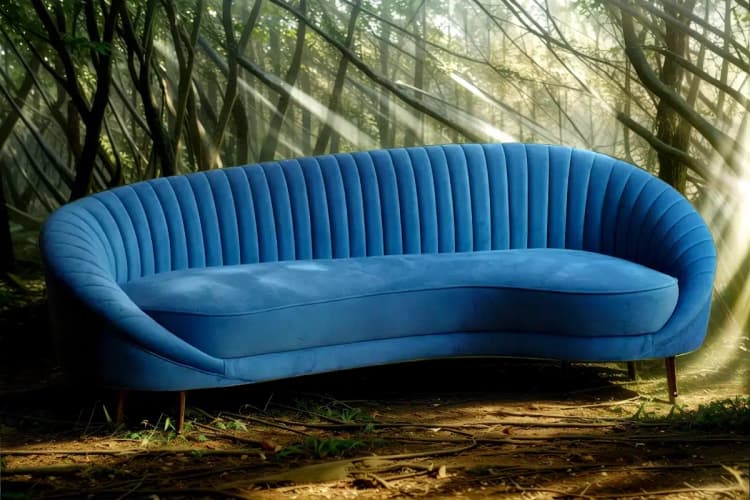
- Color Matched Result: Prepare to be amazed by the first image, where your subject, background, and lighting are expertly color matched to create a cohesive and visually striking result. This image showcases the perfect harmony between all elements, enhancing the overall aesthetics of your product.
- Relit Result: The second image takes the relighting effect to the next level, allowing the lighting to have a more pronounced influence on the final result. This image is perfect for showcasing the dramatic impact of your chosen lighting setup, making your product truly stand out.
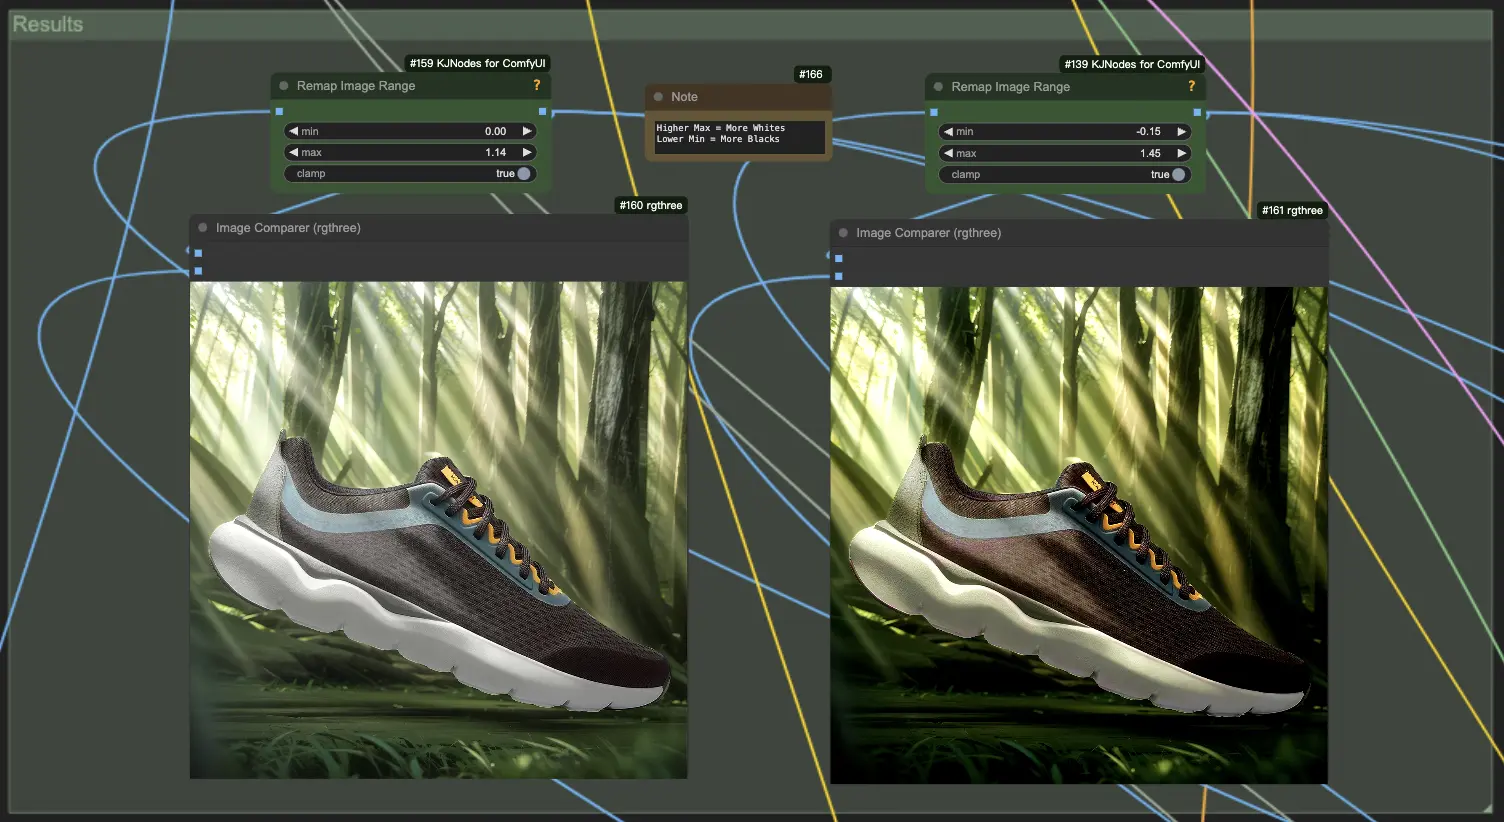
To further refine your results, you have the power to fine-tune the remapping parameters and adjust the brightness of the final images. If you find that the IC-Light component has made the image too dark, simply decrease the min value to achieve deeper, richer blacks, or increase the max value to produce brighter, more vibrant whites. This level of control ensures that you can achieve the perfect balance and create images that truly reflect your artistic vision.
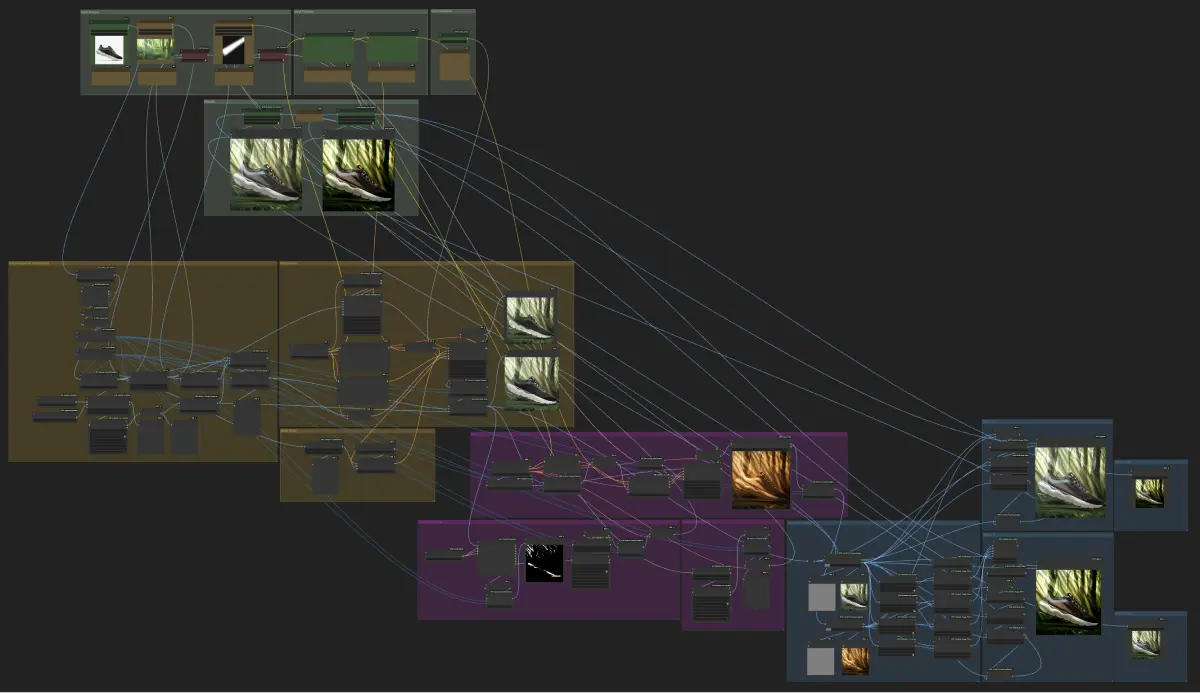
Workflow Components
The workflow consists of three main parts, each responsible for a specific aspect of the relighting process:
- Yellow Part (Image Regeneration): This section is responsible for regenerating the image by seamlessly blending the subject, background (if provided), and lighting. It ensures that all elements of the image are harmoniously integrated before the relighting process begins, laying the foundation for a polished and professional result.
- Pink Part (Relighting): The relighting section apples either global light illumination or your custom light mask (if available) to create the desired lighting effect. Watch as your product comes to life, bathed in the perfect light that enhances its unique features and captivates your audience.
- Blue Part (Detail Recovery and Color Matching): The final section of the workflow is dedicated to recovering any lost details and correcting mismatching colors that may have occurred during the relighting process. Leveraging advanced techniques such as Frequency Separation and Color Matching.
With this ComfyUI Product Relighting workflow at your fingertips, you now have the power to transform your product images into stunning, professionally relit masterpieces.