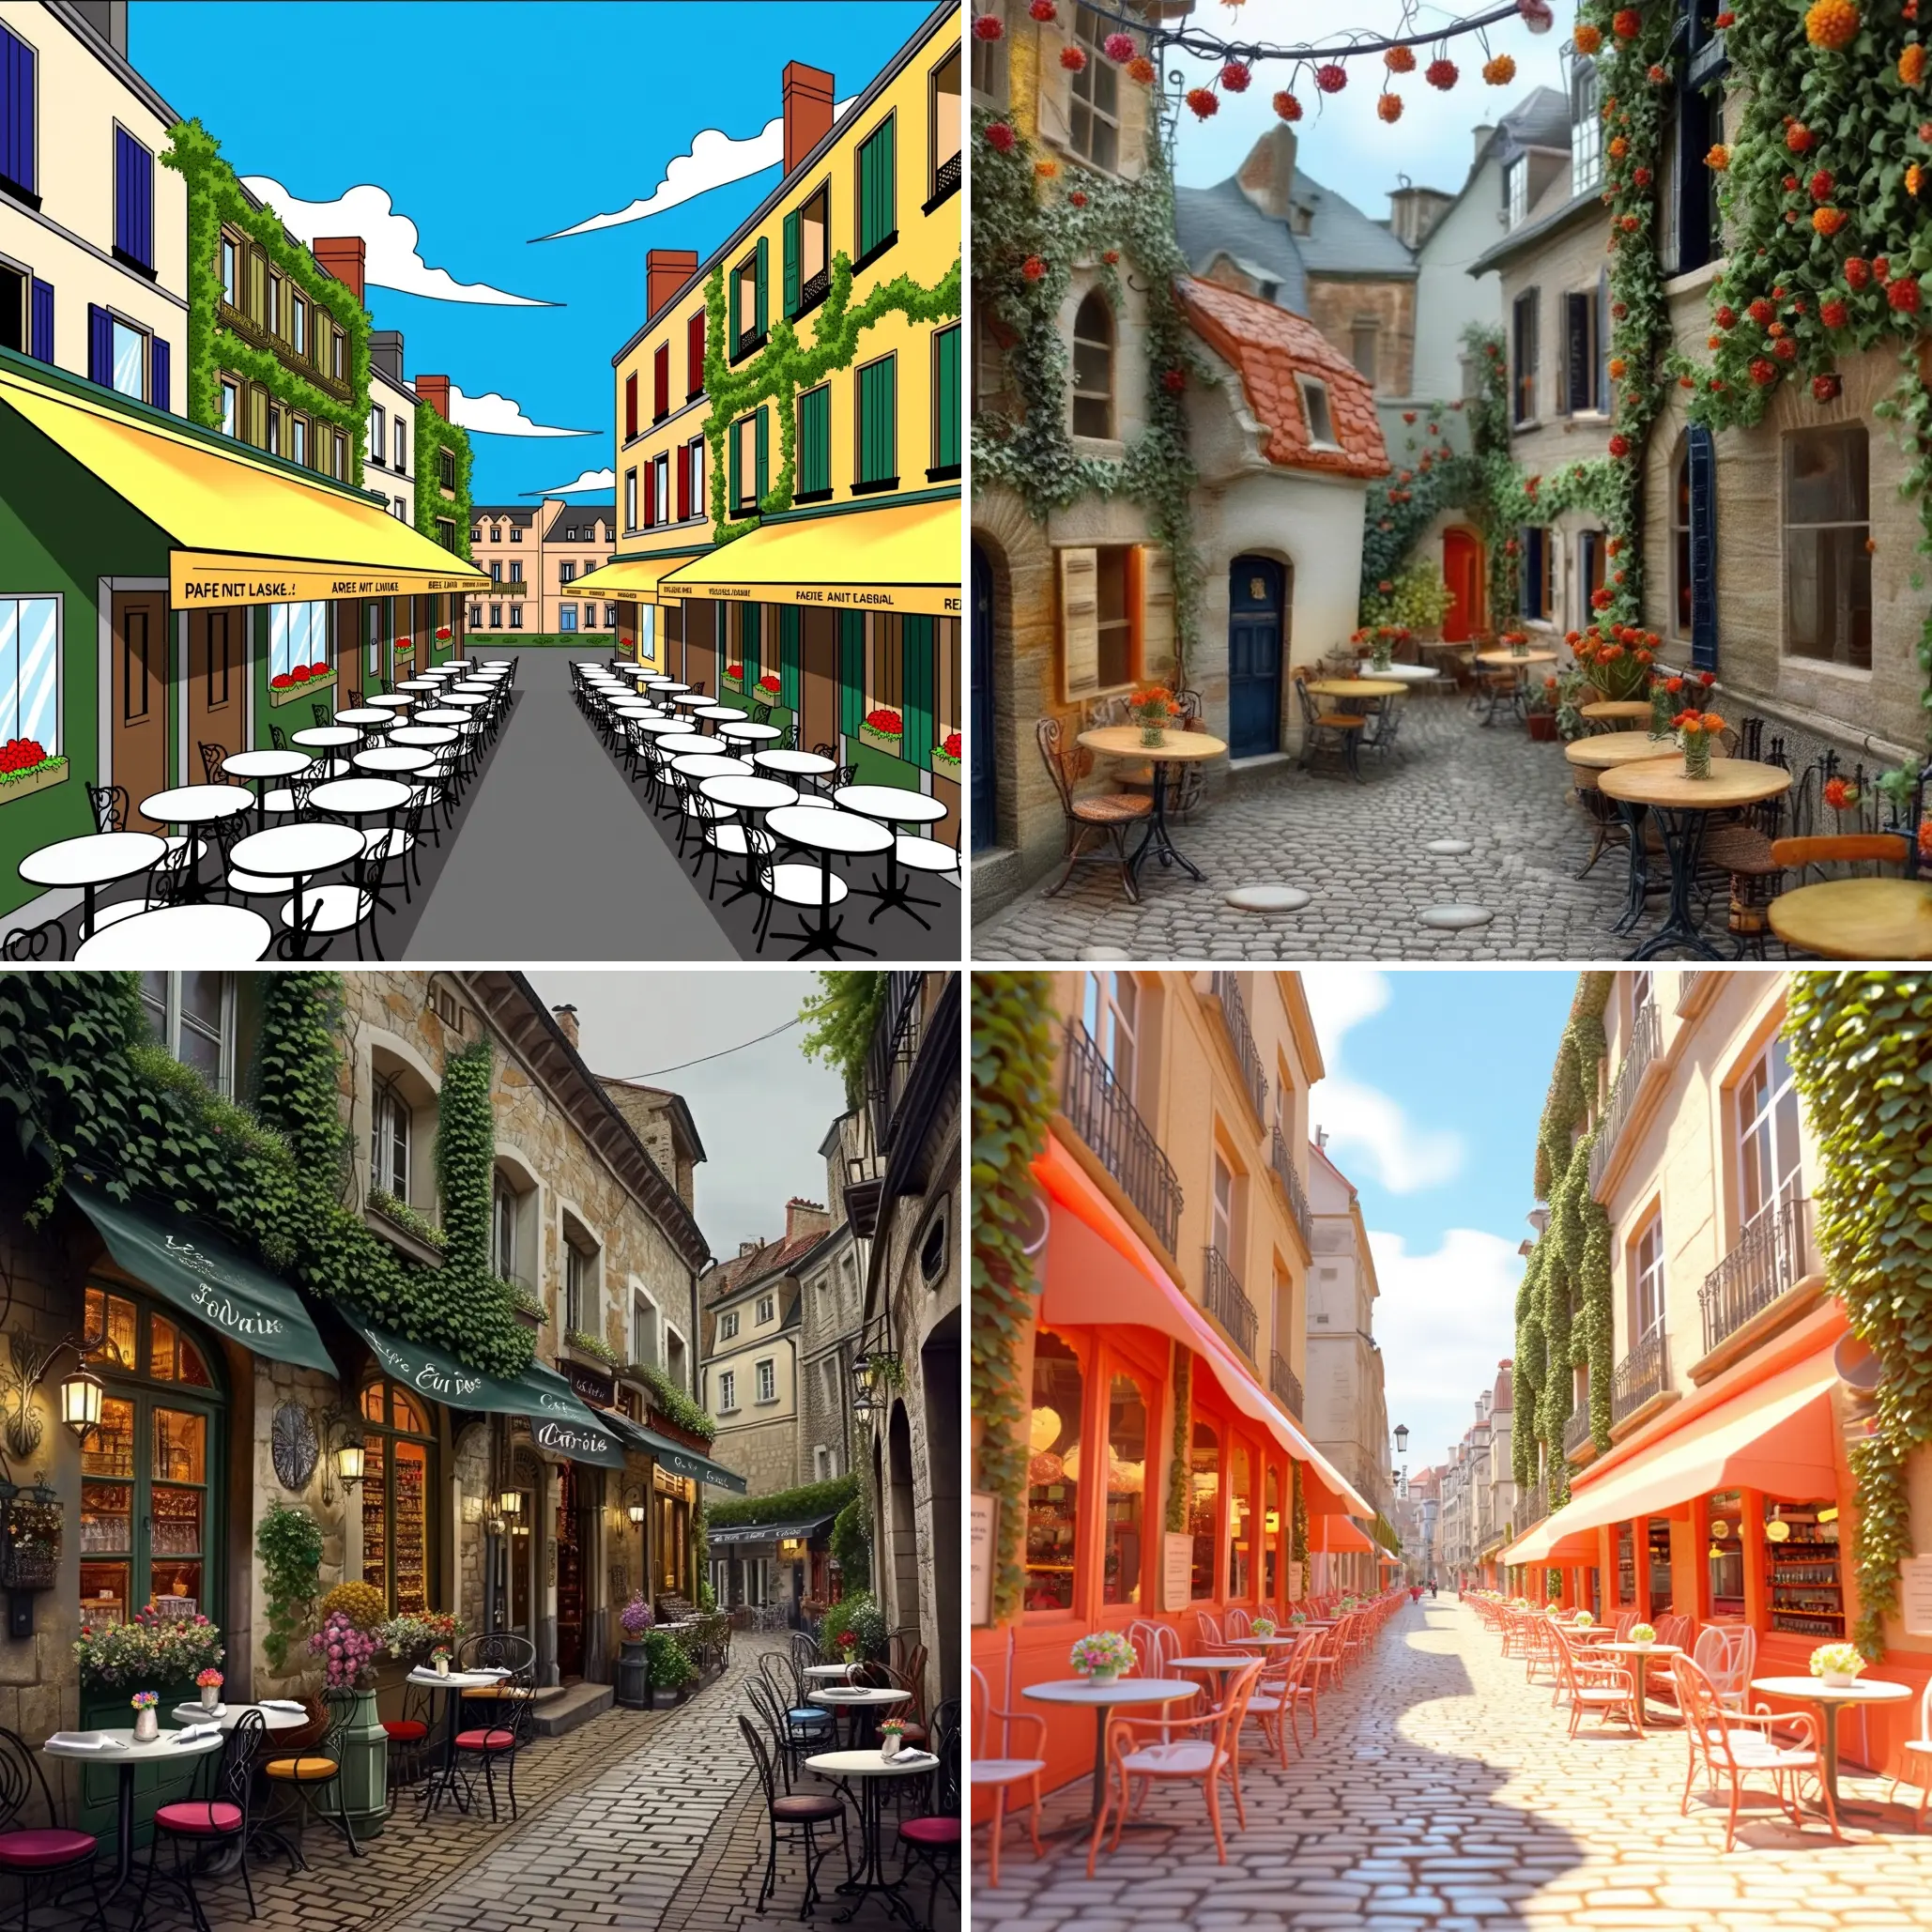
ComfyUI Extension: ComfyUI-ProPost
comfyui-propost
digitaljohn (Account age: 4802 days) Nodes
View all nodes(5) Latest Updated
2025-02-10 Github Stars
0.17K
How to Install ComfyUI-ProPost
Install this extension via the ComfyUI Manager by searching for ComfyUI-ProPost- 1. Click the Manager button in the main menu
- 2. Select Custom Nodes Manager button
- 3. Enter ComfyUI-ProPost in the search bar
Visit ComfyUI Online for ready-to-use ComfyUI environment
- Free trial available
- 16GB VRAM to 80GB VRAM GPU machines
- 400+ preloaded models/nodes
- Freedom to upload custom models/nodes
- 200+ ready-to-run workflows
- 100% private workspace with up to 200GB storage
- Dedicated Support
ComfyUI-ProPost Description
ComfyUI-ProPost offers custom nodes for ComfyUI, enabling basic post-processing effects like Film Grain and Vignette to enhance AI imagery, making it appear more natural and less artificial.
ComfyUI-ProPost Introduction
Welcome to comfyui-propost, an extension designed to enhance your AI-generated images with a variety of post-processing effects. This extension provides a set of custom nodes for ComfyUI, allowing you to apply effects like film grain, vignette, radial blur, depth map blur, and LUT (Look-Up Table) adjustments. These effects can help make AI-generated images appear more natural and polished, addressing common issues such as overly sharp edges or lack of depth.
How ComfyUI-ProPost Works
The comfyui-propost extension works by adding custom nodes to ComfyUI, a modular interface for stable diffusion models. Each node represents a different post-processing effect that you can apply to your images. By connecting these nodes in various ways, you can create complex workflows that enhance your images in multiple stages. Think of it like adding layers of filters in a photo editing software, but with more control and customization options.
ComfyUI-ProPost Features
Film Grain
The Film Grain node adds a grainy texture to your images, mimicking the look of traditional film photography. This can make digital images feel more organic and less sterile.
- gray_scale: Enables grayscale mode. If true, the output will be in grayscale.
- grain_type: Sets the grain type. Options include Fine, Fine Simple, Coarse, and Coarser.
- grain_sat: Controls the color saturation of the grain.
- grain_power: Adjusts the overall intensity of the grain effect.
- shadows: Sets the intensity of grain in the shadow areas.
- highs: Sets the intensity of grain in the highlight areas.
- scale: Scales the image before applying grain and scales it back afterward.
- sharpen: Number of sharpening passes.
- src_gamma: Gamma compensation applied to the input.
- seed: Seed for the grain random generator.
Vignette
The Vignette node darkens the edges of your image, drawing attention to the center. This effect can be subtle or pronounced, depending on your settings.
- intensity: The intensity of the vignette effect.
- center_x: The x-coordinate of the vignette's center.
- center_y: The y-coordinate of the vignette's center.
Radial Blur
The Radial Blur node blurs the edges of your image, creating a focus effect that can range from subtle to dramatic.
- blur_strength: The intensity of the blur at the edges.
- center_x: The x-coordinate of the blur's center.
- center_y: The y-coordinate of the blur's center.
- focus_spread: The spread of the area of focus.
- steps: The number of steps to use when blurring the image.
Depth Map Blur
The Depth Map Blur node uses a depth map to apply blur selectively, simulating depth of field effects. This is particularly useful for creating a sense of depth in your images.
- depth_map: The depth map to use for the blur.
- blur_strength: The intensity of the blur.
- focal_depth: The focal depth of the blur.
- focus_spread: The spread of the area of focus.
- steps: The number of steps to use when blurring the image.
- focal_range: Determines the range of focus.
- mask_blur: Mask blur strength.
Apply LUT
The Apply LUT node allows you to apply a 3D LUT to your image, enabling complex color grading and adjustments.
- lut_name: The LUT file to apply.
- strength: The strength of the LUT effect.
- log: If true, processes the image in LOG color space.
Troubleshooting ComfyUI-ProPost
Common Issues and Solutions
- Nodes Not Appearing in ComfyUI:
- Ensure that the extension is installed correctly in the
/ComfyUI/custom_nodes/directory. - Restart ComfyUI after installation.
- Effects Not Visible:
- Check the parameters of the nodes to ensure they are set correctly.
- Make sure the nodes are connected properly in the workflow.
- Performance Issues:
- Some effects, like Radial Blur with high steps, can be computationally intensive. Reduce the number of steps or blur strength to improve performance.
Frequently Asked Questions
- Q: Can I use multiple nodes together?
- A: Yes, you can combine multiple nodes to create complex effects. For example, you can use Film Grain and Vignette together to add texture and focus to your image.
- Q: What is a depth map and how do I create one?
- A: A depth map is a grayscale image where the intensity of each pixel represents its distance from the camera. You can create depth maps using nodes like
Depth AnythingorMiDaS.
Learn More about ComfyUI-ProPost
For more information, tutorials, and community support, you can visit the following resources:
- ComfyUI GitHub Repository
- Filmgrainer Library
- ComfyUI Manager These resources provide additional documentation, examples, and forums where you can ask questions and share your experiences with other AI artists.
ComfyUI-ProPost Related Nodes
RunComfy is the premier ComfyUI platform, offering ComfyUI online environment and services, along with ComfyUI workflows featuring stunning visuals. RunComfy also provides AI Playground, enabling artists to harness the latest AI tools to create incredible art.

