
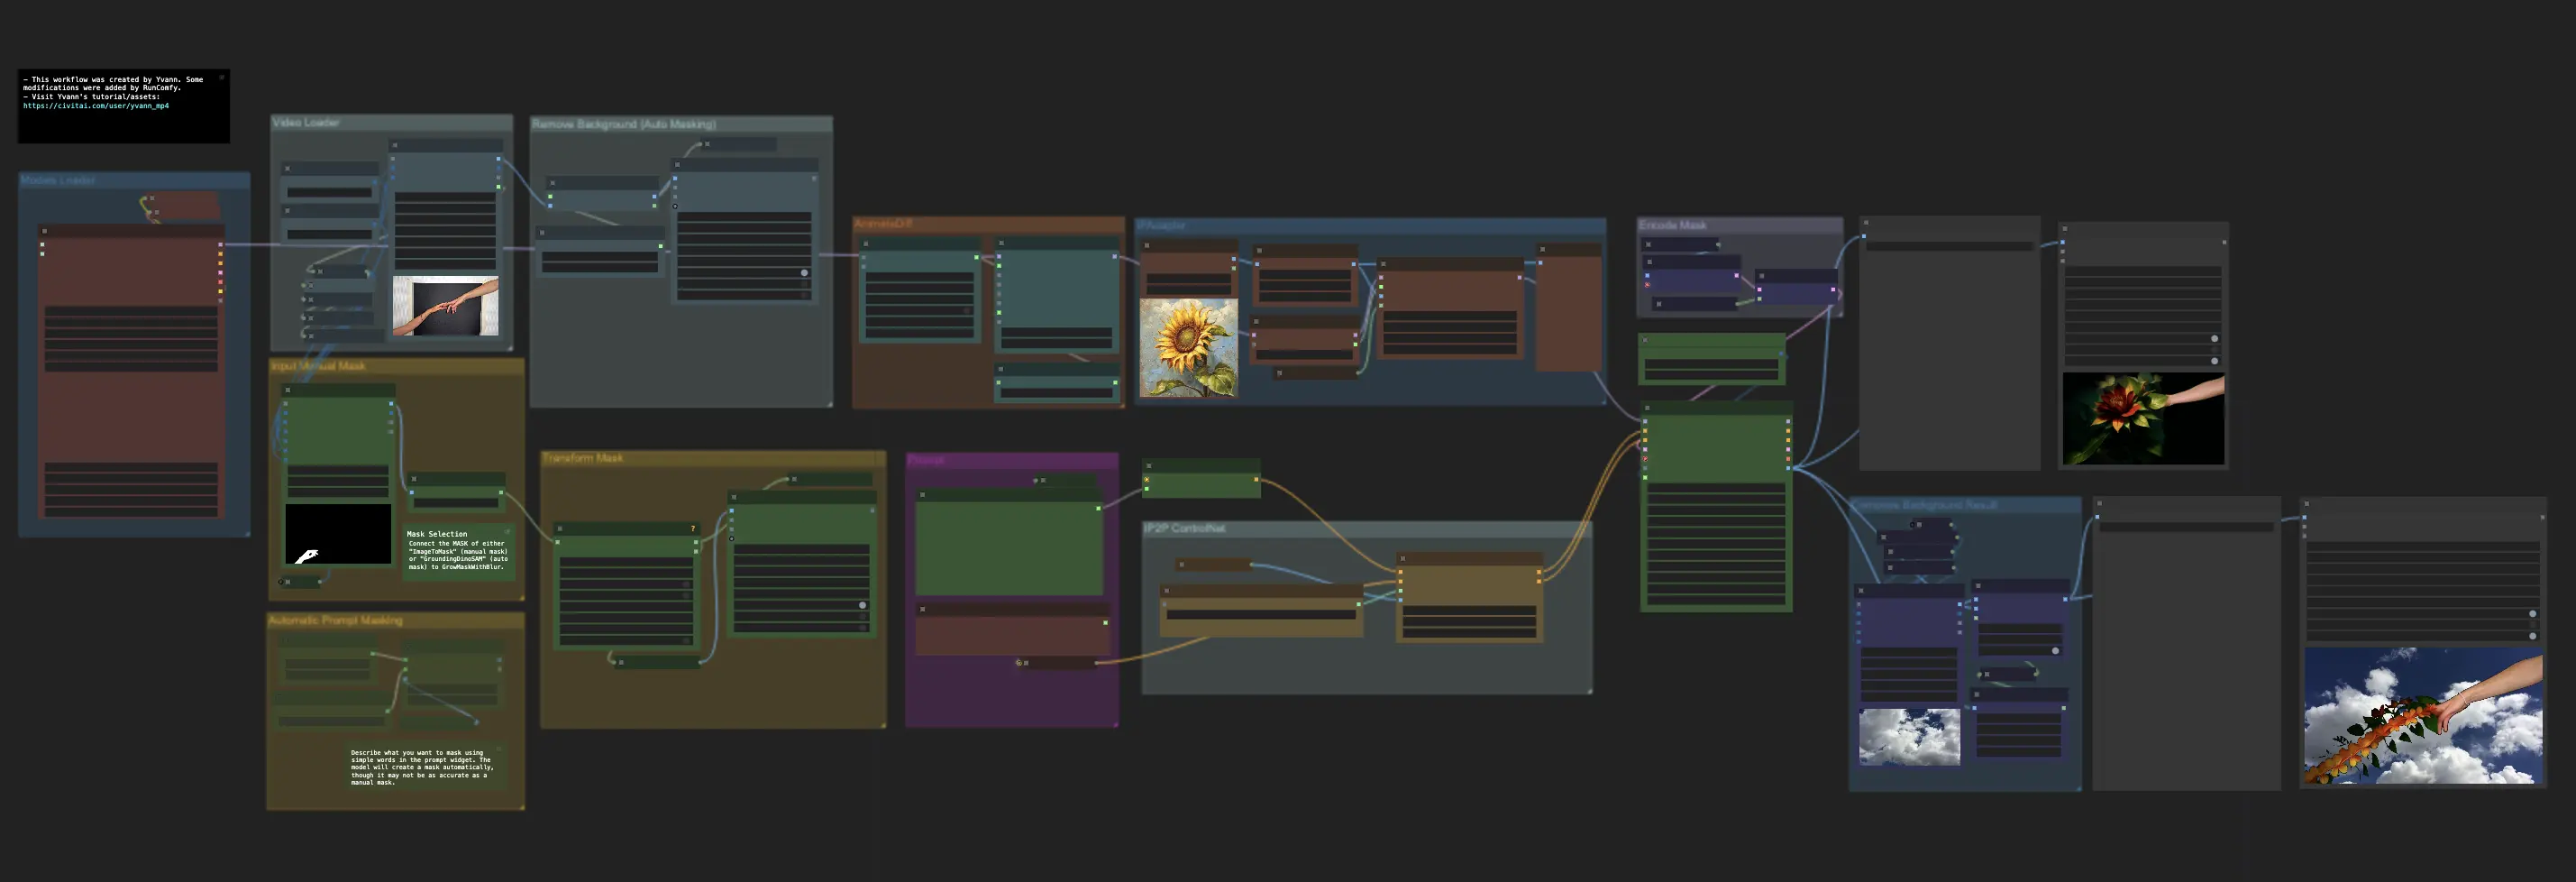
The ComfyUI Vid2Vid workflow, created by **YVANN**, introduces two distinct workflows to achieve high-quality, professional animations.
- The first ComfyUI workflow: ComfyUI Vid2Vid Part 1 | Composition and Masking
- The second workflow: ComfyUI Vid2Vid Part 2 | SDXL Style Transfer
ComfyUI Vid2Vid Part 1 | Composition and Masking#
This workflow enhances creativity by focusing on the composition and masking of your original video.
Step 1: Models Loader | ComfyUI Vid2Vid Workflow Part1#
Select the appropriate models for your animation. This includes choosing the checkpoint model, VAE (Variational Autoencoder) model, and LoRA (Low-Rank Adaptation) model. These models are crucial for defining the capabilities and style of your animation.
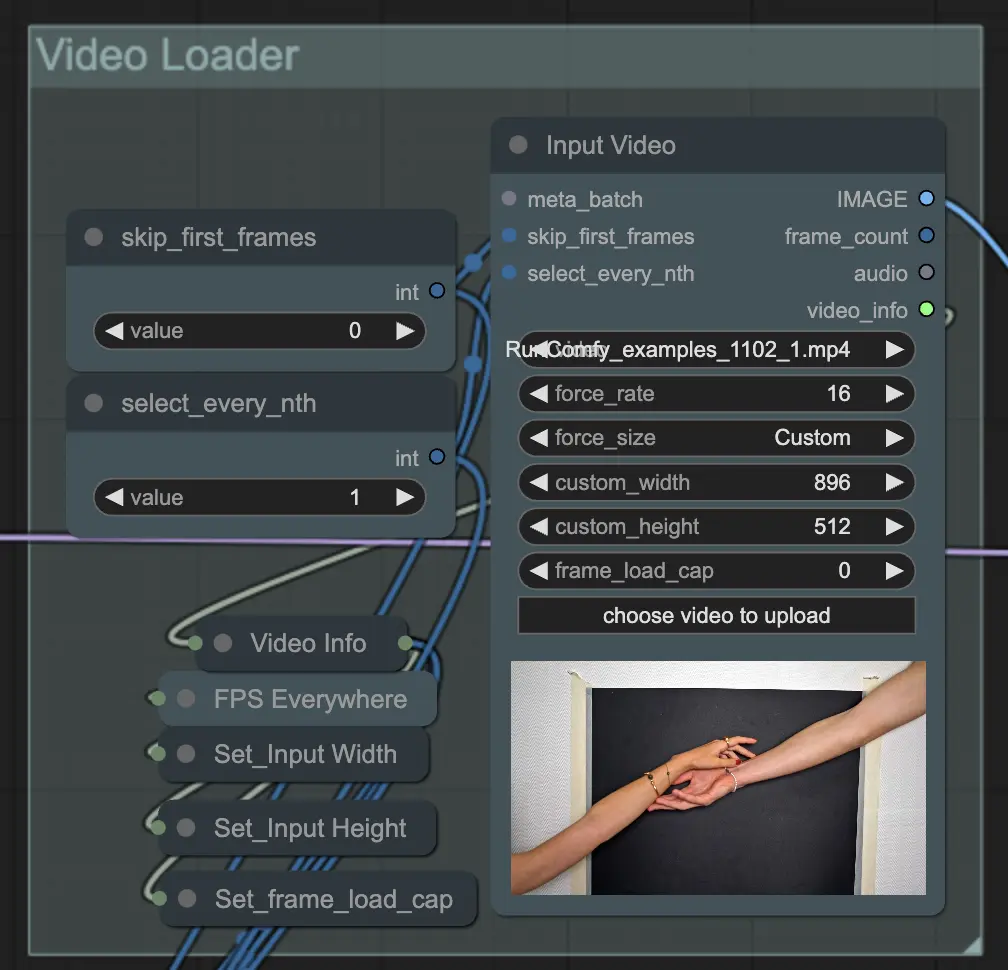
Step 2: Video Loader | ComfyUI Vid2Vid Workflow Part1#
The Input Video node is responsible for importing the video file that will be used for the animation. The node reads the video and converts it into individual frames, which are then processed in subsequent steps. This allows for detailed frame-by-frame editing and enhancement.
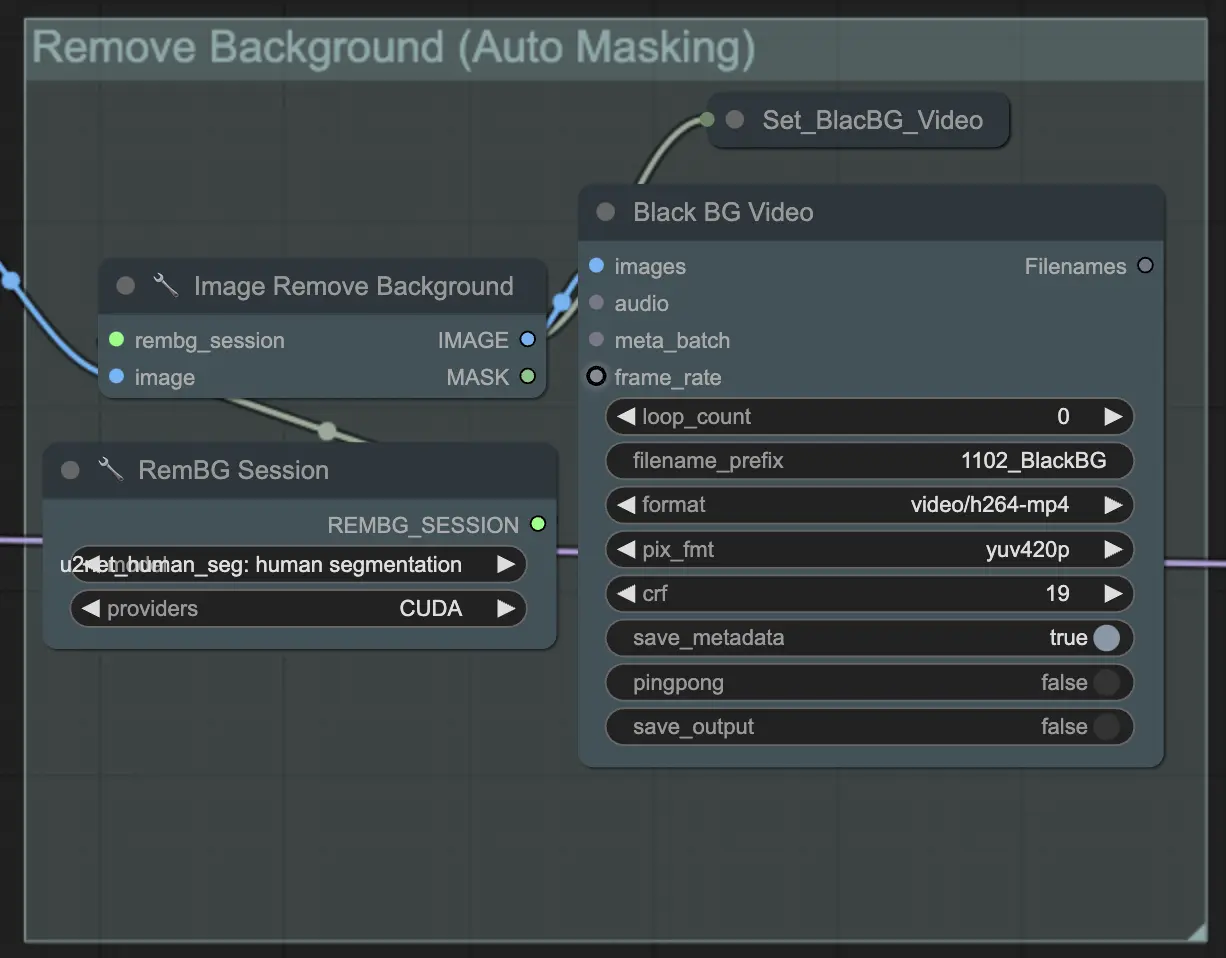
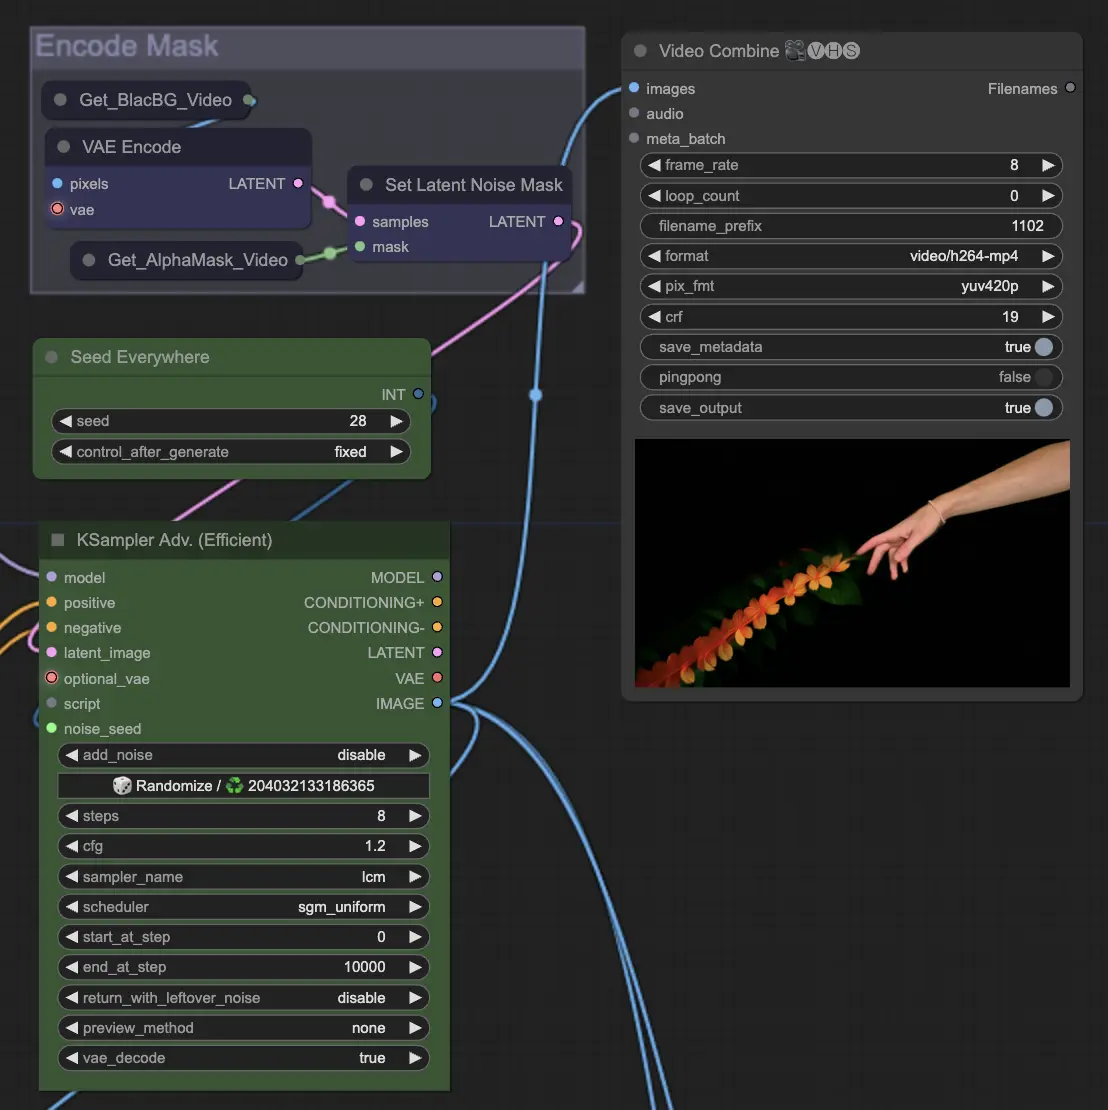
Step 3: Remove Background (Auto Masking) | ComfyUI Vid2Vid Workflow Part1#
Remove Background (Auto Masking) isolates the subject from the background using an automated masking technique. This involves models that detect and separate the foreground subject from the background, creating a binary mask. This step is crucial for ensuring that the subject can be manipulated independently of the background.
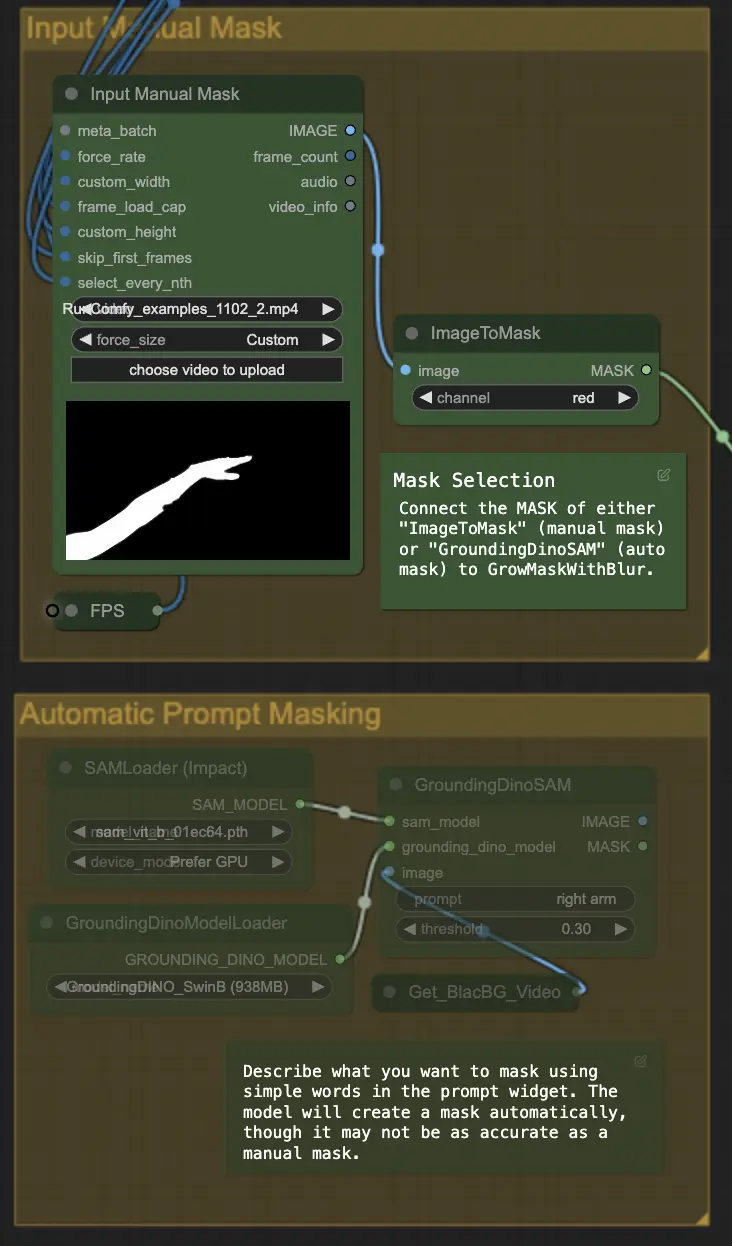
Step 4: Masking Specific Area (Manual Mask or Auto Mask) | ComfyUI Vid2Vid Workflow Part1#
This step allows for the refinement of the mask created in the previous step. You can either manually mask specific areas using other software or rely on ComfyUI's 'Segment Anything' automated mask feature.
- Manual Mask: This needs to be handled by other software outside of ComfyUI for precise control.
- Auto Mask: Using the auto mask feature, you can describe what you want to mask using simple words in the prompt widget. The model will create a mask automatically, though it may not be as accurate as a manual mask.
The default version uses a manual mask. If you want to try the auto one, please bypass the manual mask group and enable the auto mask group. Additionally, connect the MASK of 'GroundingDinoSAM' (auto mask) to 'GrowMaskWithBlur' instead of connecting 'ImageToMask' (manual mask) to 'GrowMaskWithBlur'.
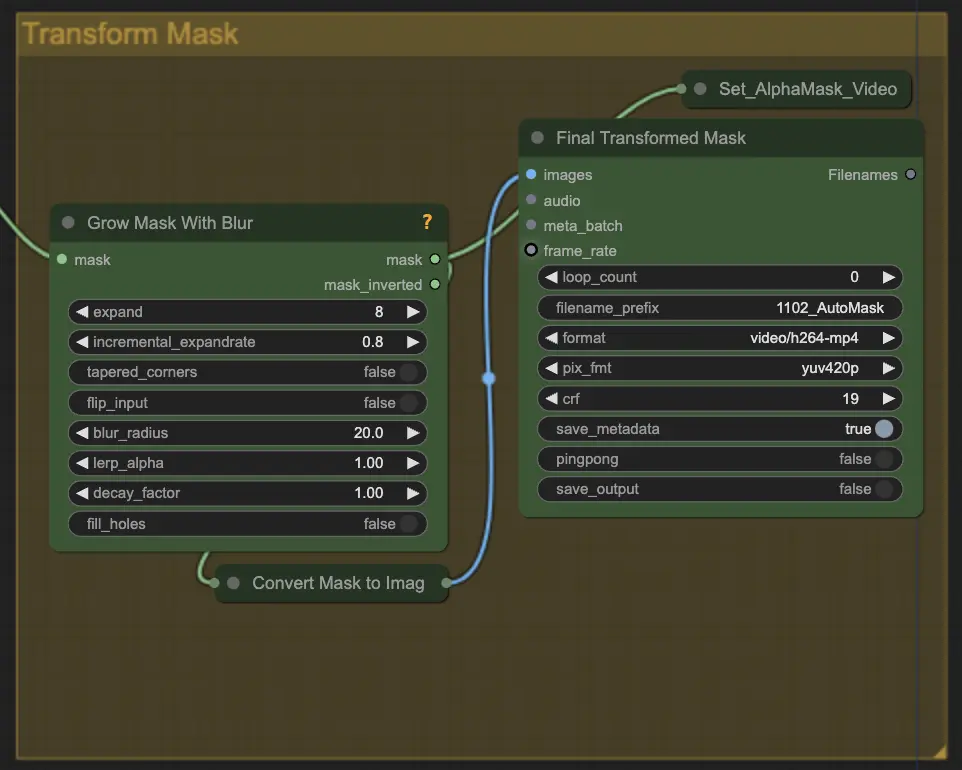
Step 5: Transform Mask | ComfyUI Vid2Vid Workflow Part1#
Transform Mask converts the mask into an image and allows additional adjustments such as adding blur to the original mask. This helps in softening the edges and making the mask blend more naturally with the rest of the image.
Step 6: Input Prompt | ComfyUI Vid2Vid Workflow Part1#
Input textual prompts to guide the animation process. The prompt can describe the desired style, appearance, or actions of the subject. It is crucial for defining the creative direction of the animation, ensuring that the final output matches the envisioned artistic style.
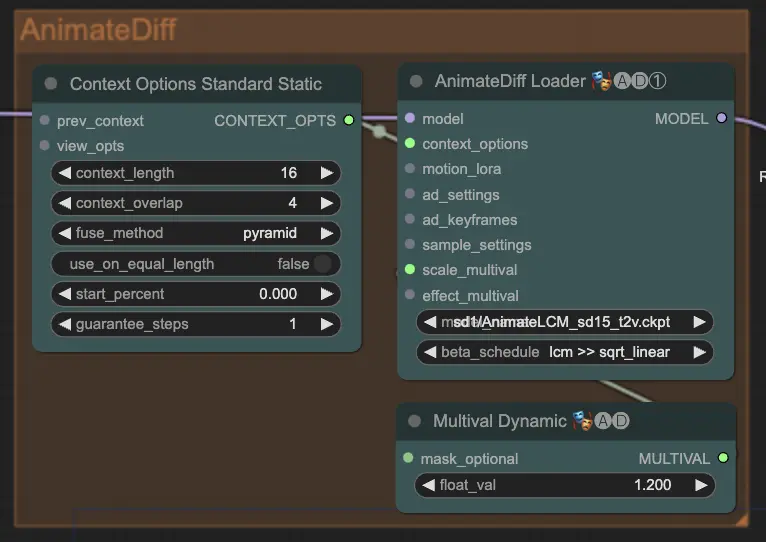
Step 7: AnimateDiff | ComfyUI Vid2Vid Workflow Part1#
The AnimateDiff node creates smooth animations by identifying differences between consecutive frames and applying these changes incrementally. This helps in preserving motion coherence and reducing abrupt changes in the animation, leading to a more fluid and natural look.
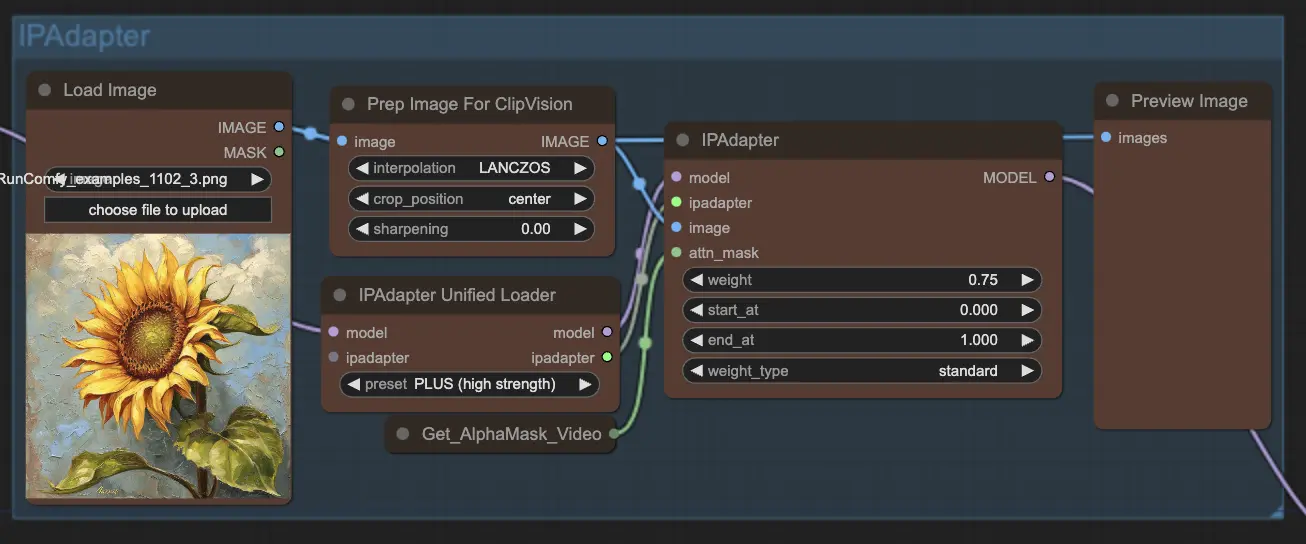
Step 8: IPAdapter | ComfyUI Vid2Vid Workflow Part1#
The IPAdapter node adapts the input images to align with the desired output styles or features. This includes tasks like colorization and style transfer, ensuring that each frame of the animation maintains a consistent look and feel.
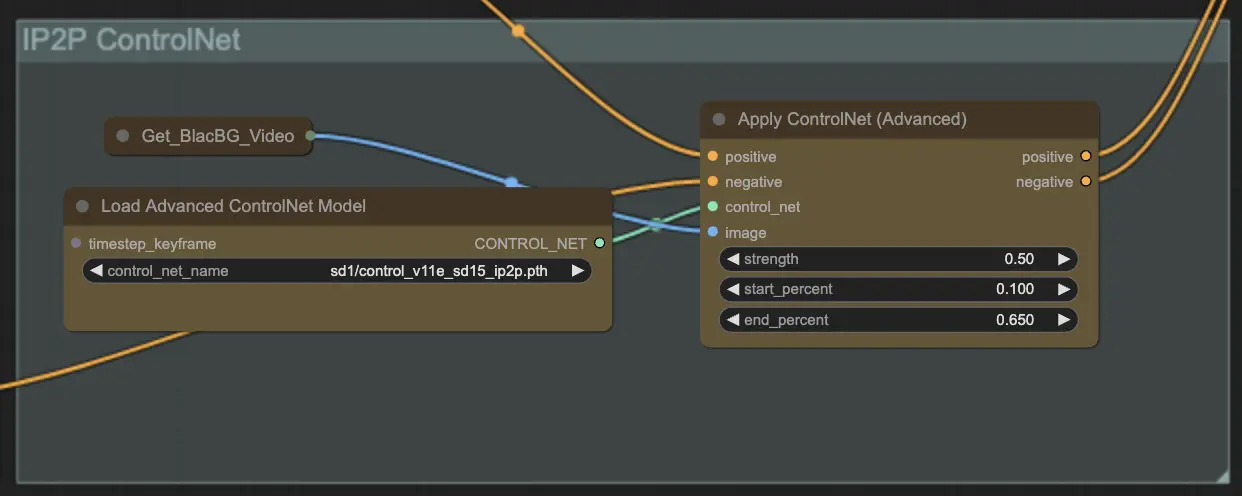
Step 9: ControlNet | ComfyUI Vid2Vid Workflow Part1#
Using ControlNet - v1.1 - Instruct Pix2Pix Version model enhances diffusion models by enabling them to process additional input conditions (e.g., edge maps, segmentation maps). It facilitates text-to-image generation by controlling these pretrained models with task-specific conditions in an end-to-end manner, allowing robust learning even with smaller datasets.
Step 10: Render | ComfyUI Vid2Vid Workflow Part1#
In the Render step, the processed frames are compiled into a final video output. This step ensures that all individual frames are combined seamlessly into a coherent animation, ready for export and further use.
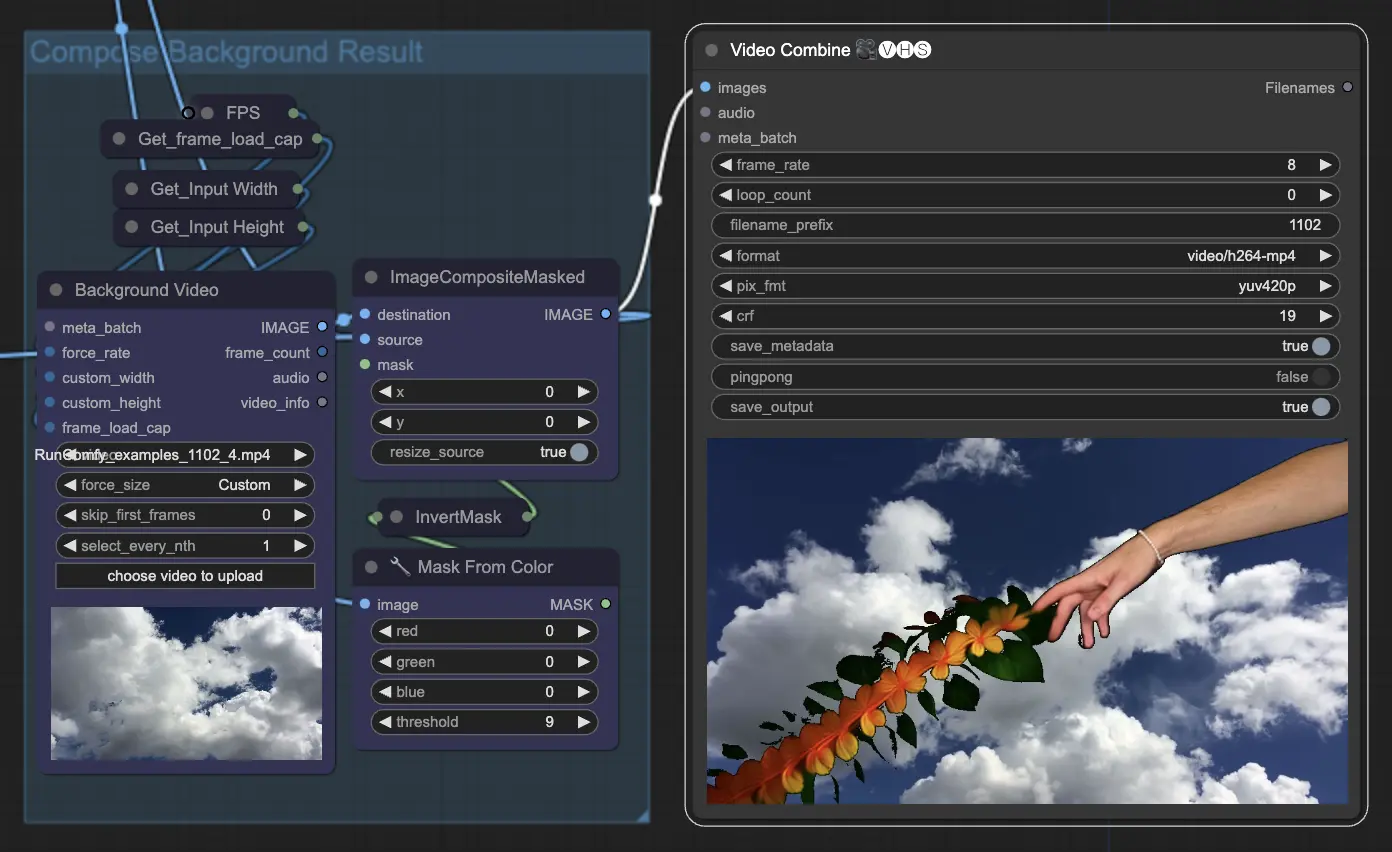
Step 11: Compose Background | ComfyUI Vid2Vid Workflow Part1#
This involves compositing the animated subject with the background. You can add a static or dynamic background to the animation, ensuring that the subject integrates smoothly with the new background to create a visually appealing final product.
By utilizing the ComfyUI Vid2Vid workflow Part1, you can create intricate animations with precise control over every aspect of the process, from composition and masking to final rendering.