Have you ever wanted to create stunning, Houdini-like animations but felt intimidated by the complexity of 3D software? Look no further! This innovative ComfyUI workflow will guide you through the process of applying depth (Z-Depth) manipulations and generating captivating animations using only 2D images.
Whether you're an artist, designer, or enthusiast, you'll be able to generate stunning animations that look and feel like they were created using advanced 3D techniques, all while working with the simplicity and ease of 2D images in ComfyUI.
Step 1: Creating a Starting Image
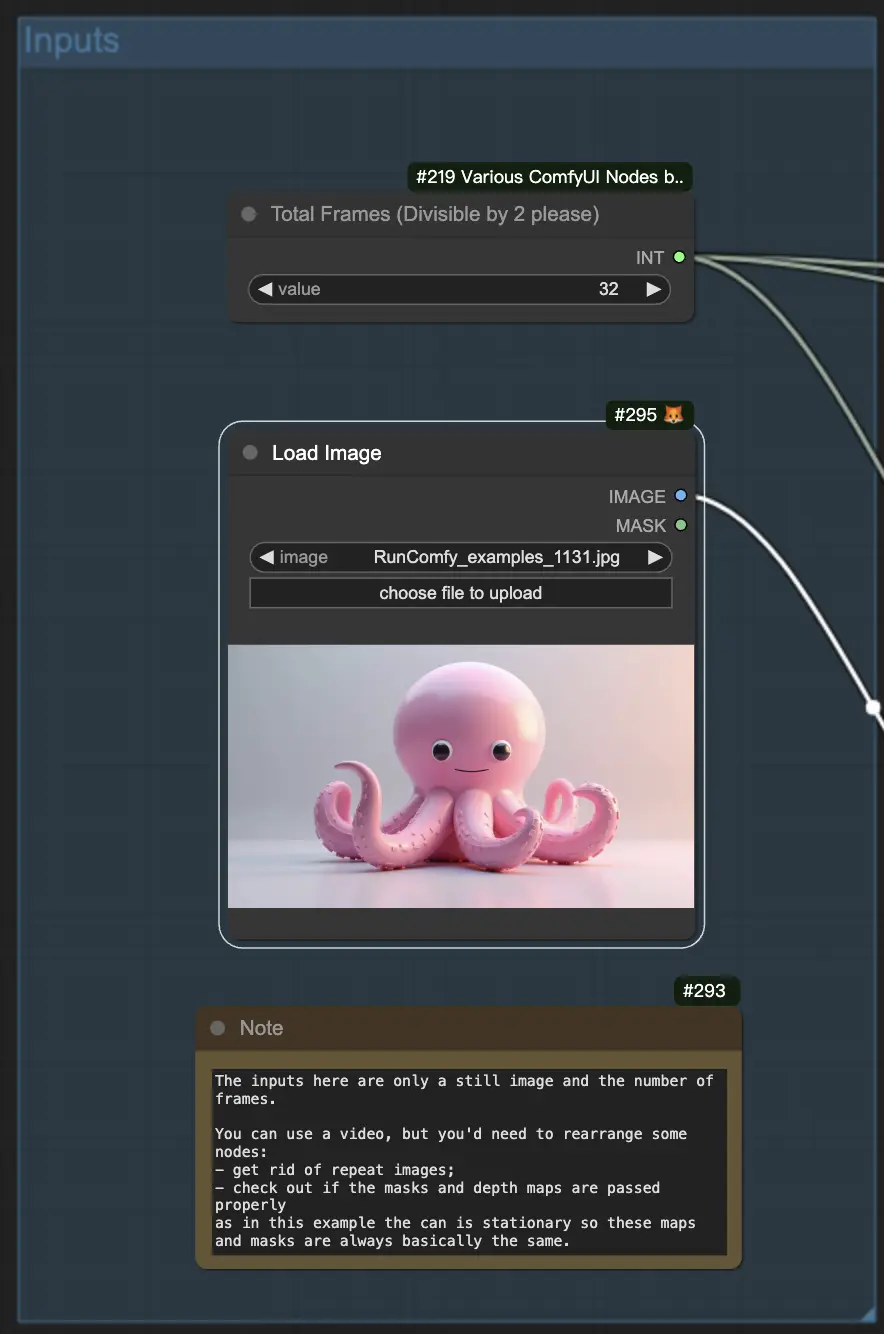
To begin, you'll need to generate a starting image that will serve as the basis for your animation. Once you have your image, scale it down to a smaller size, like 1 megapixel, to keep the file size manageable.
Step 2: Creating a Mask Animation from a Single Image
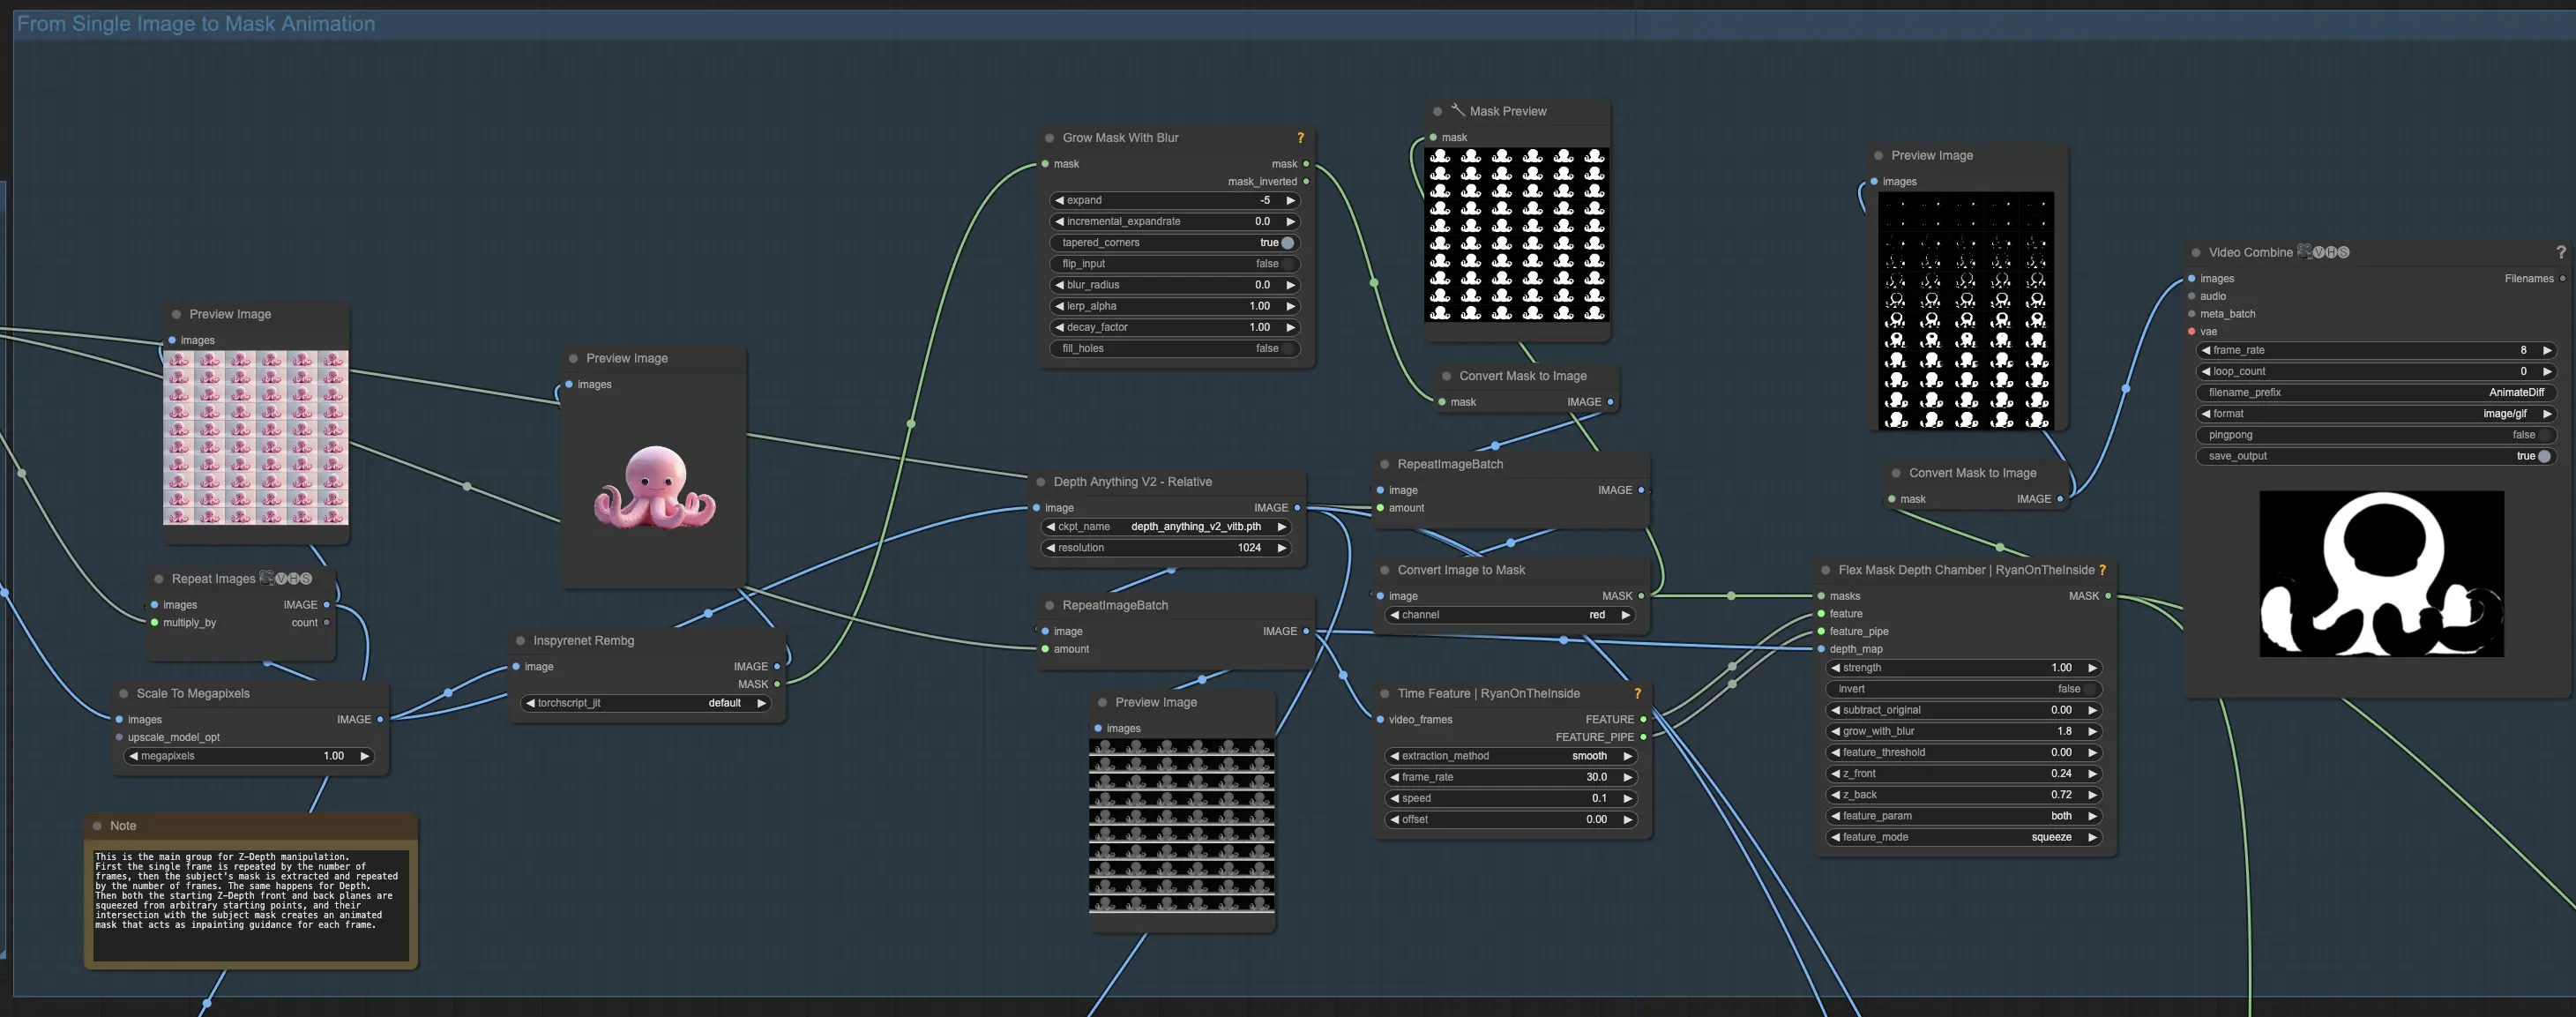
In this step, you'll transform your single image into a mask animation. Begin by creating a video from your single image by repeating it for a desired number of frames, such as 32. To isolate your subject, remove the background using a background removal model like InSPyR-Net. After removing the background, slightly contract the resulting mask by a few pixels to ensure it works well with the depth manipulation process.
Next, extract the depth information from your single frame and connect it to the control net depth. Repeat the depth image for the same number of frames as your video. Pass the repeated depth frames to the Time Feature and Flex Mask Depth Chamber nodes. The Time Feature node will guide the animation through time with a fixed frame rate. Set the effect time to "smooth" and choose a low speed value, like 0.1.
The time features will control the slicing of your subject along the Z-depth axis. Adjust the starting position of the Z-front and Z-back planes to begin the action mid-way through your subject. Move both planes using the "feature" parameter with a "squeeze" motion to create the desired slicing effect. To enhance the differential diffusion effect and ensure smoother transitions, add a small amount of blur using the "grow with blur" setting.
By the end of this step, you will have converted your single image into a mask animation that is ready for the depth manipulation and slicing process. This mask animation will serve as the foundation for creating the Houdini-like effect in the subsequent steps of the workflow.
Step 3: Generating the Animation
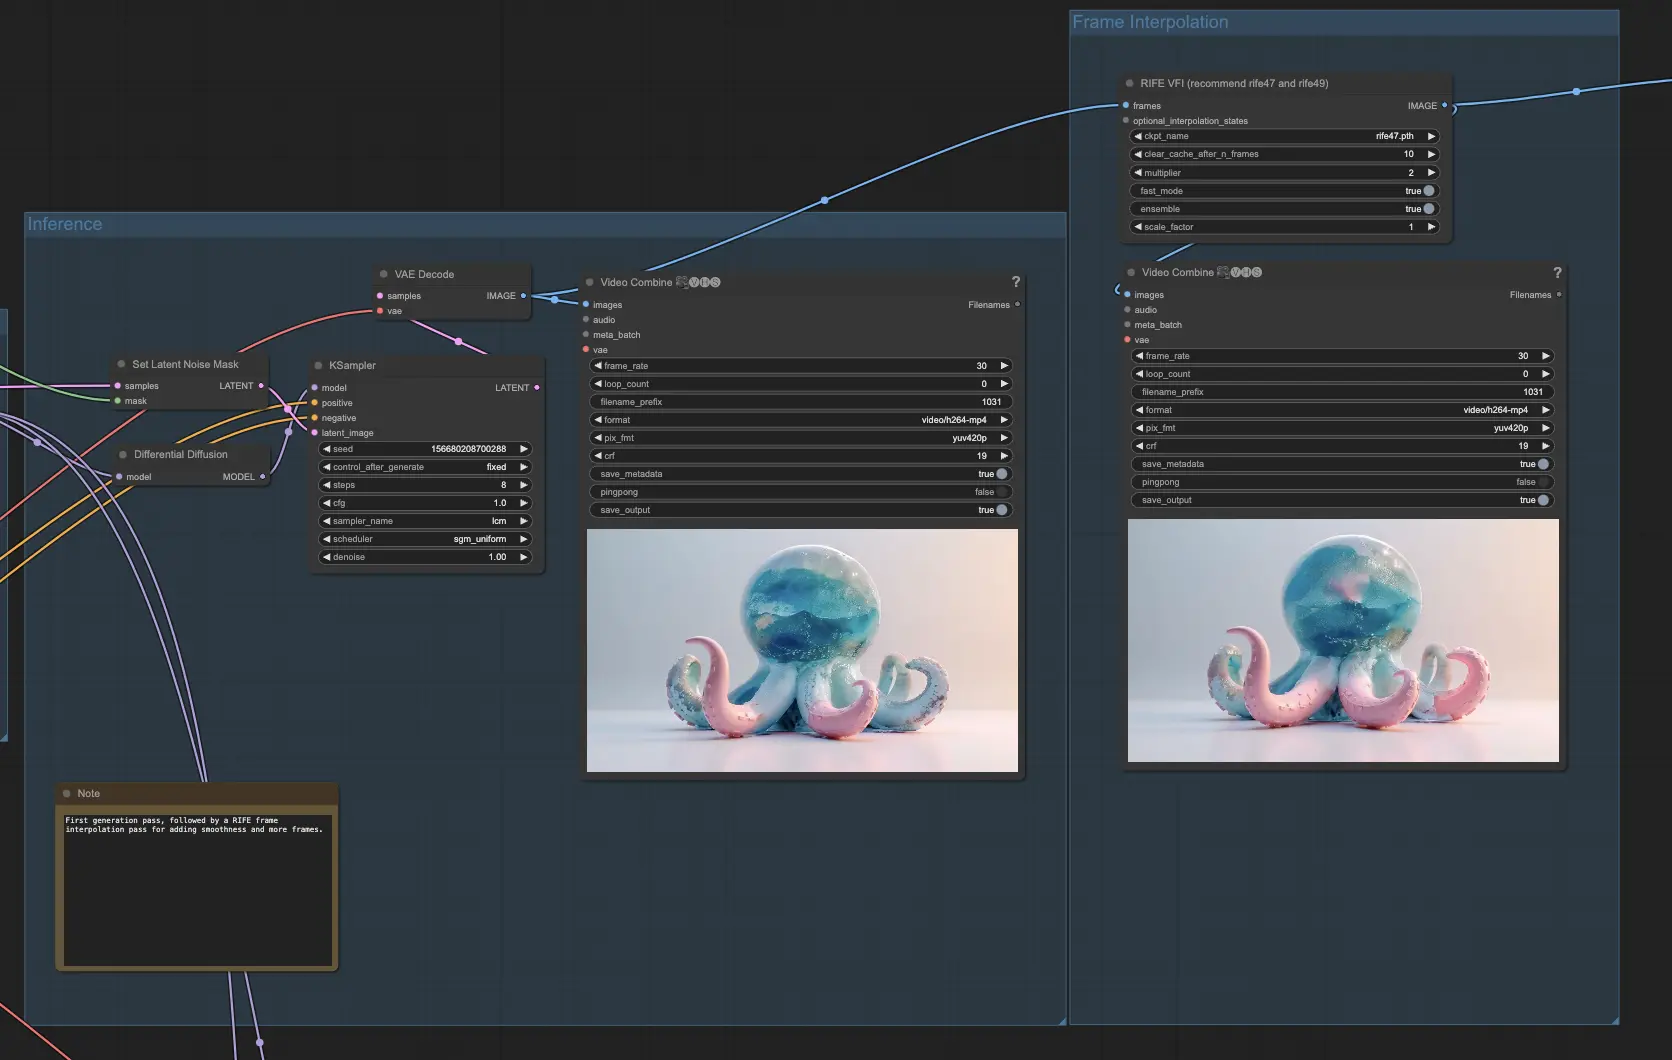
In this step, you'll bring your animation to life by generating frames using the prepared mask animation and depth information. Begin by loading a checkpoint, such as the 1.5 checkpoint for AnimateDiff, along with any desired LoRAs to enhance the quality and style of your generated frames.
Set up a simple conditioning step with a positive prompt that describes the portion of the resulting mask that will be sliced. This prompt will guide the generation process and help maintain consistency throughout the animation. Apply a ControlNet depth based on your original subject's depth to ensure the generated frames maintain the desired depth characteristics.
If you have larger areas that need in-painting, you can optionally enable the IP Adapter group to handle those regions more effectively. Perform the inference with Differential Diffusion and set the latent noise mask. Encode the 32 frames of your original image and manipulate the latent space with noise for each frame, but only in the corresponding white area that has been sliced.
To further enhance the smoothness and fluidity of your animation, pass the resulting frames through a RIFE (Real-Time Intermediate Flow Estimation) node for frame interpolation. This process will double the number of frames, effectively making your video longer and smoother. By interpolating between the generated frames, RIFE helps to create a more seamless and visually appealing animation.
By the end of this step, you will have generated a complete animation based on your original image, depth information, and mask animation.
Step 4: Blending Different Animations (Optional)
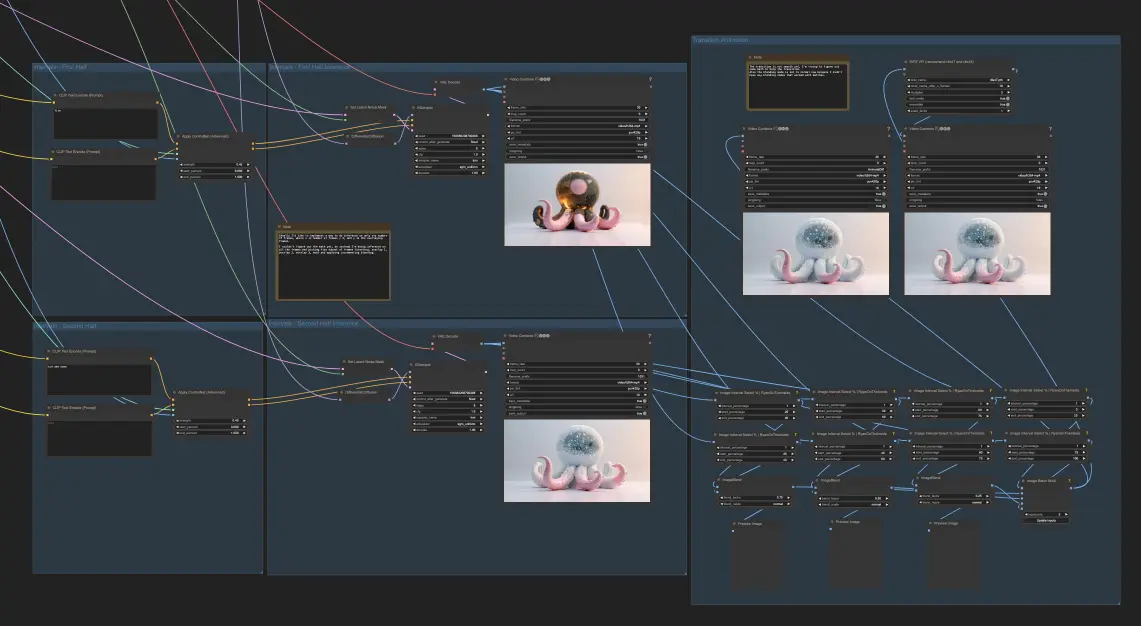
If you want to take your animation to the next level, you can generate two different animations, such as fire and ice, using the same process as before but with different prompts and reconditioning the depth. Divide the image interval into five sections. Take the first 25% of one animation and the remaining 25% (75% to 100%) of the other animation as the starting and ending points. Blend the middle points (25% to 40%, 40% to 60%, 60% to 75%) of both animations so that the resulting blend starts more like the first animation and gradually becomes more like the second animation.