ComfyUI Node: Image Dragan Photography Filter
Image Dragan Photography Filter
CategoryWAS Suite/Image/Filter
WASasquatch (Account age: 4910days) Extension
WAS Node Suite Latest Updated
2025-03-27 Github Stars
1.44K
How to Install WAS Node Suite
Install this extension via the ComfyUI Manager by searching for WAS Node Suite- 1. Click the Manager button in the main menu
- 2. Select Custom Nodes Manager button
- 3. Enter WAS Node Suite in the search bar
Visit ComfyUI Online for ready-to-use ComfyUI environment
- Free trial available
- 16GB VRAM to 80GB VRAM GPU machines
- 400+ preloaded models/nodes
- Freedom to upload custom models/nodes
- 200+ ready-to-run workflows
- 100% private workspace with up to 200GB storage
- Dedicated Support
Image Dragan Photography Filter Description
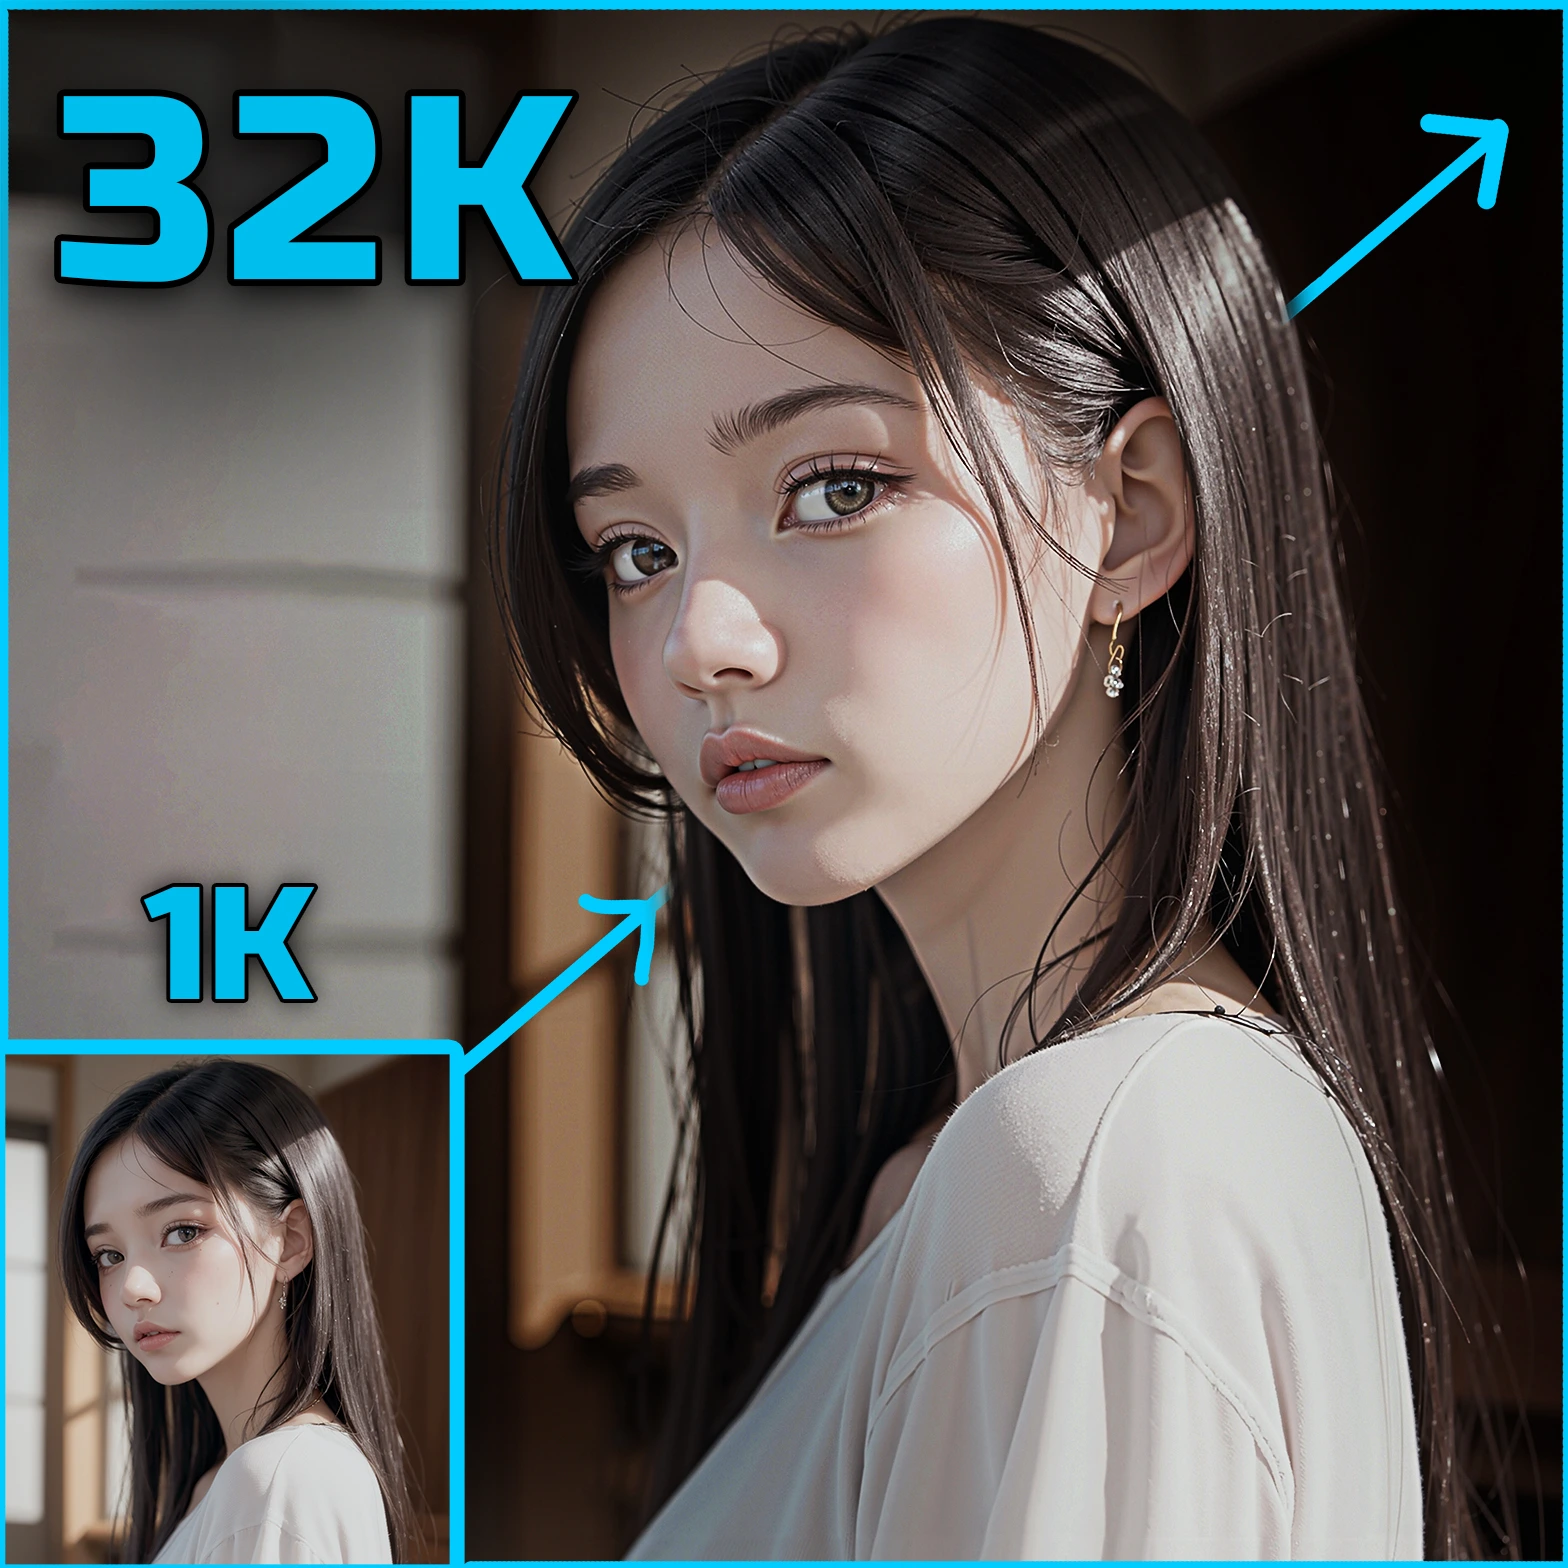
Enhance images with dramatic Dragan photography style adjustments for striking, vivid results.
Image Dragan Photography Filter:
The Image Dragan Photography Filter is a powerful tool designed to enhance your images by applying a series of adjustments that mimic the dramatic and high-contrast style of Dragan photography. This filter allows you to fine-tune various aspects of your image, such as saturation, contrast, sharpness, and brightness, while also incorporating high-pass filtering and optional colorization. The result is a striking, visually compelling image that stands out with enhanced details and vivid colors. This filter is particularly useful for creating artistic and impactful photographs, making it a valuable addition to your image processing toolkit.
Image Dragan Photography Filter Input Parameters:
image
This parameter accepts the input image(s) that you want to apply the Dragan filter to. The images should be in a tensor format.
saturation
This parameter controls the intensity of the colors in the image. Increasing the saturation will make the colors more vivid, while decreasing it will make the colors more muted. The default value is 1, with a typical range from 0 (grayscale) to 2 (highly saturated).
contrast
This parameter adjusts the difference between the light and dark areas of the image. Higher contrast will make the darks darker and the lights lighter, while lower contrast will make the image appear more flat. The default value is 1, with a typical range from 0.5 (low contrast) to 2 (high contrast).
sharpness
This parameter enhances the edges and fine details in the image. Increasing sharpness will make the image appear crisper, while decreasing it will make the image appear softer. The default value is 1, with a typical range from 0.5 (soft) to 2 (sharp).
brightness
This parameter controls the overall lightness or darkness of the image. Increasing brightness will make the image lighter, while decreasing it will make the image darker. The default value is 1, with a typical range from 0.5 (darker) to 2 (lighter).
highpass_radius
This parameter defines the radius of the high-pass filter, which is used to enhance fine details in the image. A larger radius will affect a broader area, while a smaller radius will focus on finer details. The default value is 3, with a typical range from 1 to 10.
highpass_samples
This parameter determines the number of samples used in the high-pass filter. More samples can result in a more accurate filter but may increase processing time. The default value is 1, with a typical range from 1 to 5.
highpass_strength
This parameter controls the intensity of the high-pass filter effect. Higher strength will make the details more pronounced, while lower strength will have a subtler effect. The default value is 1, with a typical range from 0.5 to 2.
colorize
This boolean parameter determines whether the image should be colorized after applying the filter. If set to True, the image will retain its colors; if set to False, the image will be converted to grayscale. The default value is True.
Image Dragan Photography Filter Output Parameters:
IMAGE
The output is the processed image(s) with the Dragan filter applied. The images are returned in a tensor format, ready for further processing or saving.
Image Dragan Photography Filter Usage Tips:
- Experiment with different combinations of saturation, contrast, and sharpness to achieve the desired dramatic effect.
- Use the highpass_radius and highpass_strength parameters to fine-tune the level of detail enhancement in your image.
- If you want a black-and-white version of the Dragan effect, set the colorize parameter to False.
- Start with the default values and make incremental adjustments to see how each parameter affects the final image.
Image Dragan Photography Filter Common Errors and Solutions:
"Invalid image format"
- Explanation: The input image is not in the expected tensor format.
- Solution: Ensure that your input image is correctly converted to a tensor format before applying the filter.
"Parameter out of range"
- Explanation: One or more input parameters are outside their acceptable range.
- Solution: Check the parameter values and ensure they fall within the specified ranges.
"High-pass filter processing error"
- Explanation: An error occurred while applying the high-pass filter.
- Solution: Try reducing the highpass_radius or highpass_samples values to see if the issue persists.
Image Dragan Photography Filter Related Nodes
RunComfy is the premier ComfyUI platform, offering ComfyUI online environment and services, along with ComfyUI workflows featuring stunning visuals. RunComfy also provides AI Models, enabling artists to harness the latest AI tools to create incredible art.


