This Unsampling guide, written by Inner-Reflections, greatly contributes to exploring Unsampling method for achieving dramatically consistent video style transfer.
1. Introduction: Latent Noise Control with Unsampling#
Latent Noise is the basis for all of what we do with Stable Diffusion. It is amazing to take a step back and think of what we are able to accomplish with this. However generally speaking we are forced to use a random number to generate the noise. What if we could control it?
I am not the first to use Unsampling. It has been around for a very long time and has been used in several different ways. Until now however I generally have not been satisfied with the results. I have spent several months finding the best settings and I hope you enjoy this guide.
By using the sampling process with AnimateDiff/Hotshot we can find noise that represents our original video and therefore makes any sort of style transfer easier. It is especially helpful to keep Hotshot consistent given its 8 frame context window.
This unsampling process essentially converts our input video into latent noise that maintains the motion and composition of the original. We can then use this representational noise as the starting point for the diffusion process rather than random noise. This allows the AI to apply the target style while keeping things temporally consistent.
This guide assumes you have installed AnimateDiff and/or Hotshot. If you haven't already, the guides are available here:
AnimateDiff: https://civitai.com/articles/2379
Hotshot XL guide: https://civitai.com/articles/2601/
Link to resource - If you want to post videos on Civitai using this workflow. https://civitai.com/models/544534
2. System Requirements for this Workflow#
A Windows computer with an NVIDIA graphics card that has at least 12GB of VRAM is recommended. On the RunComfy platform, use a Medium (16GB of VRAM) or higher-tier machine. This process doesn't require more VRAM than standard AnimateDiff or Hotshot workflows, but it does take nearly twice as long, as it essentially runs the diffusion process twice—once for upsampling and once for resampling with the target style.
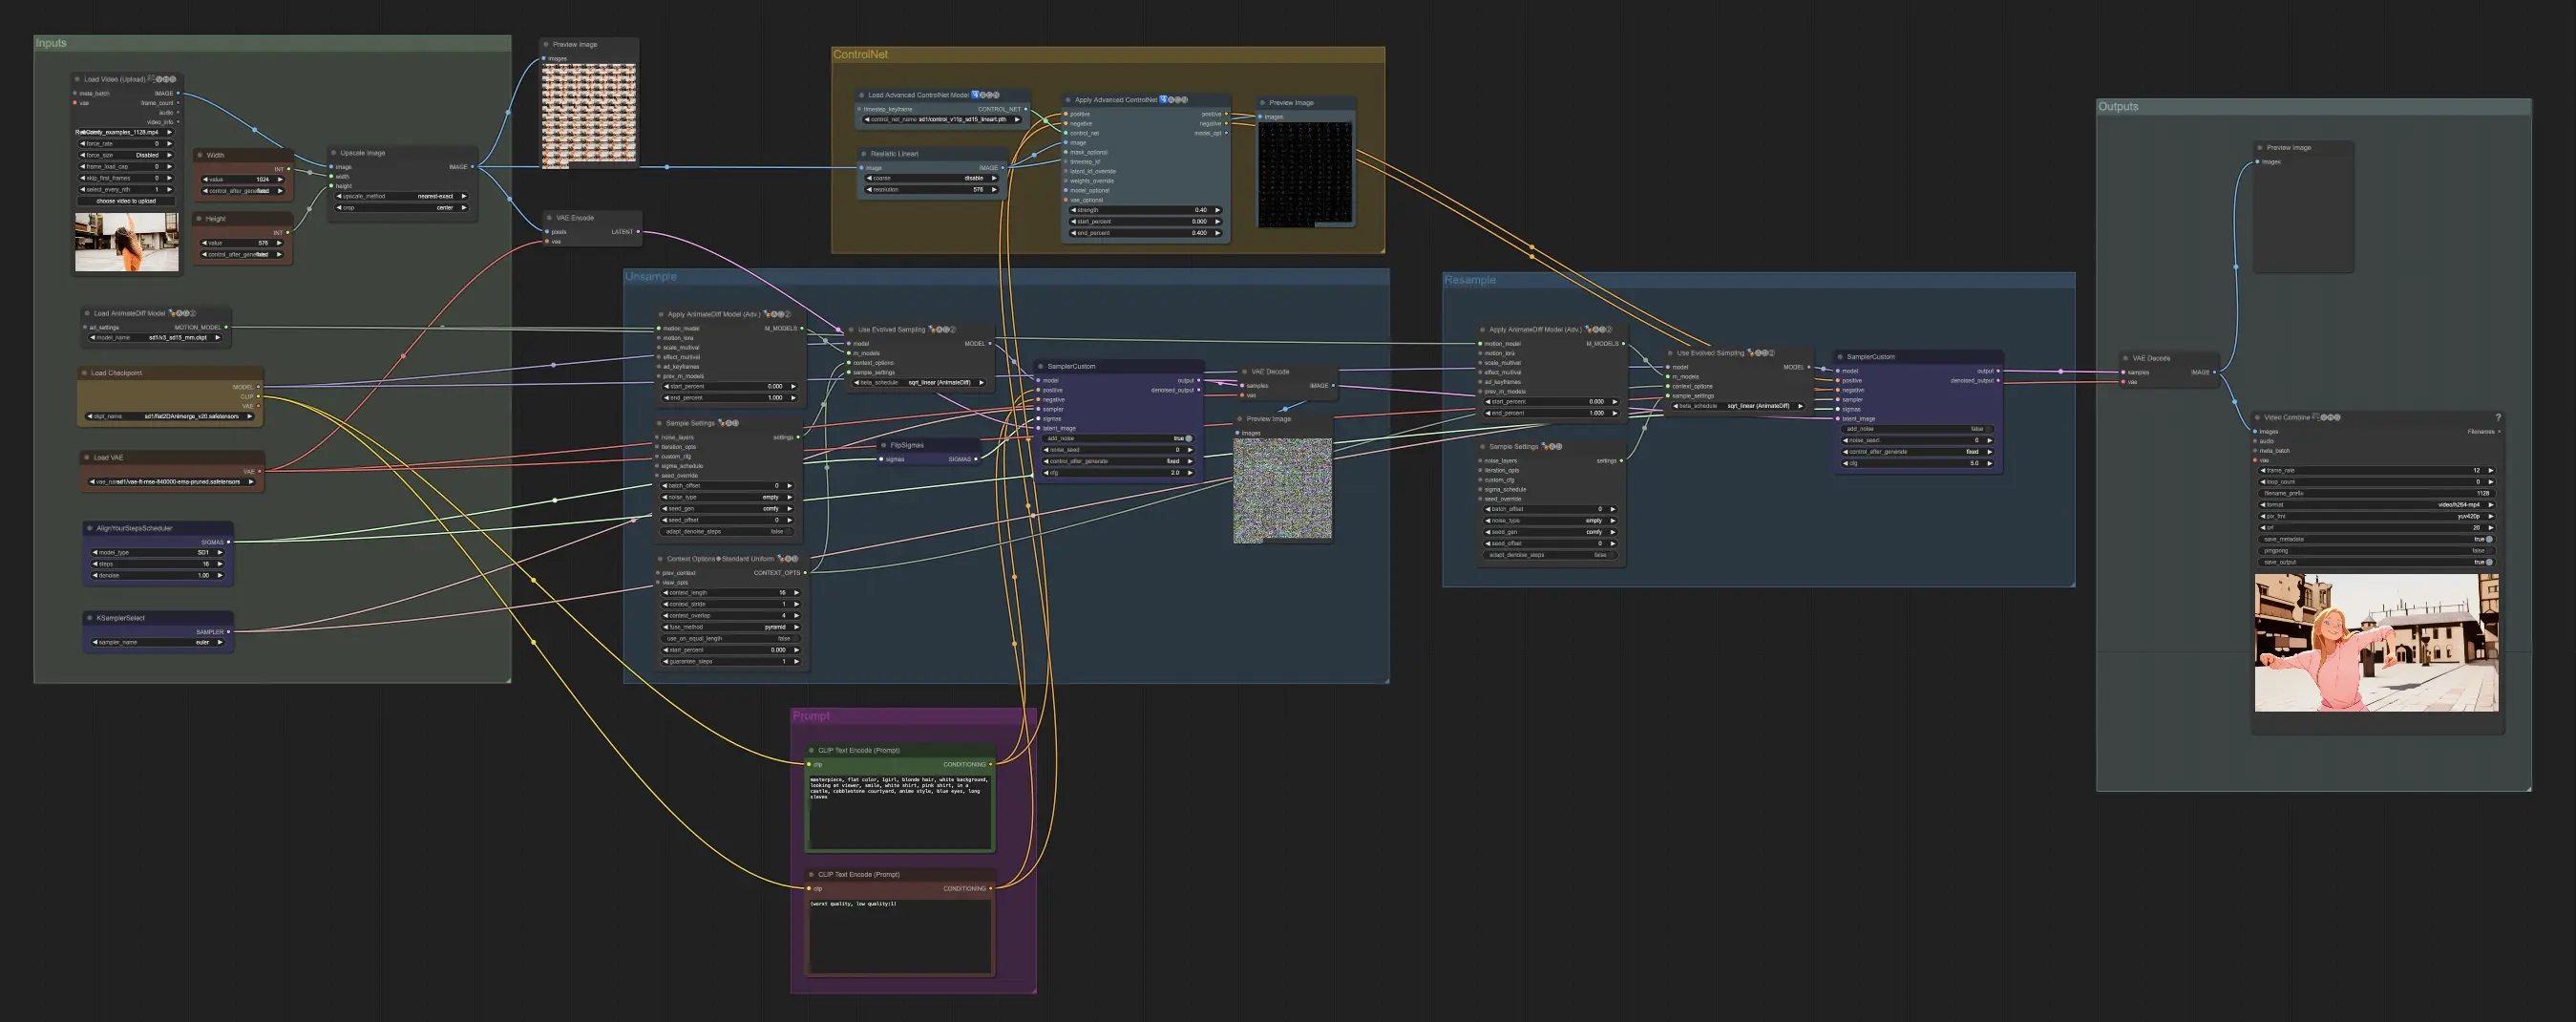
3. Nodes Explanations and Settings Guide#
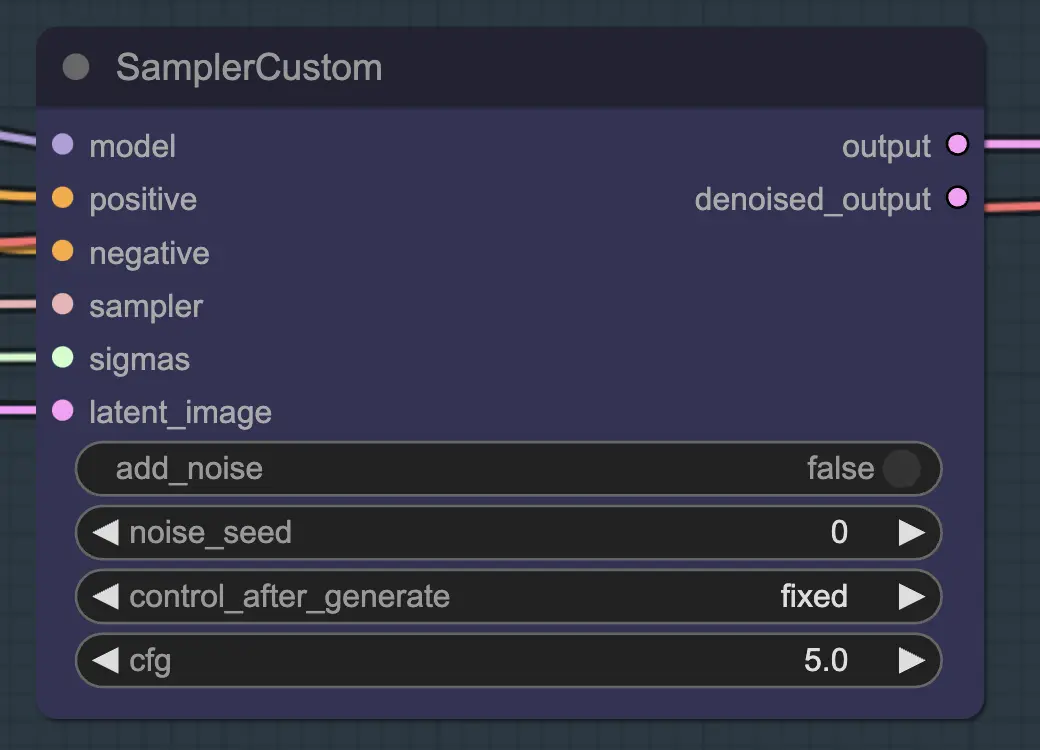
Node: Custom Sampler#
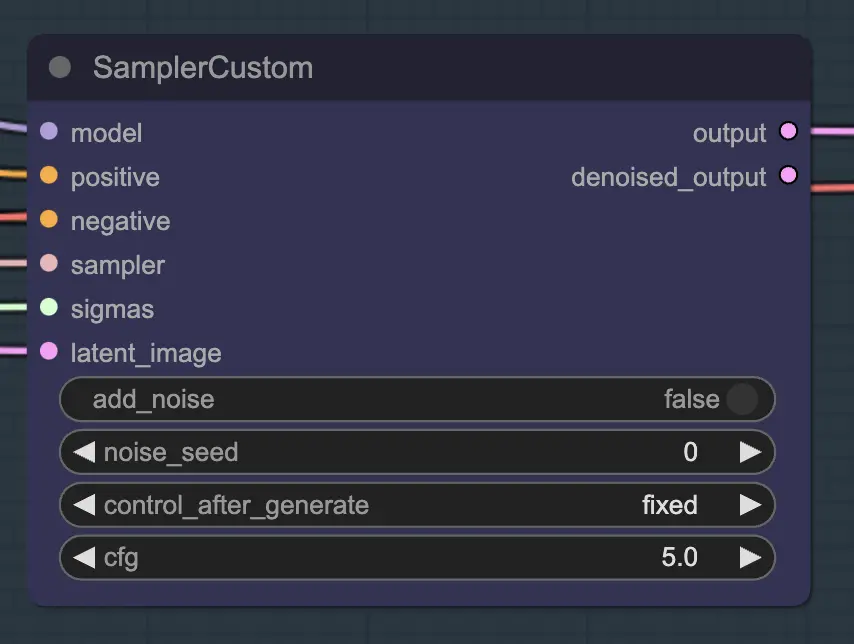
The main part of this is using the Custom Sampler which splits all the settings you usually see in the regular KSampler into pieces:
This is the main KSampler node - for unsampling adding noise/seed do not have any effect (that I am aware of). CFG matters - generally speaking the higher the CFG is on this step the closer the video will look to your original. Higher CFG forces the unsampler to more closely match the input.
Node: KSampler Select#
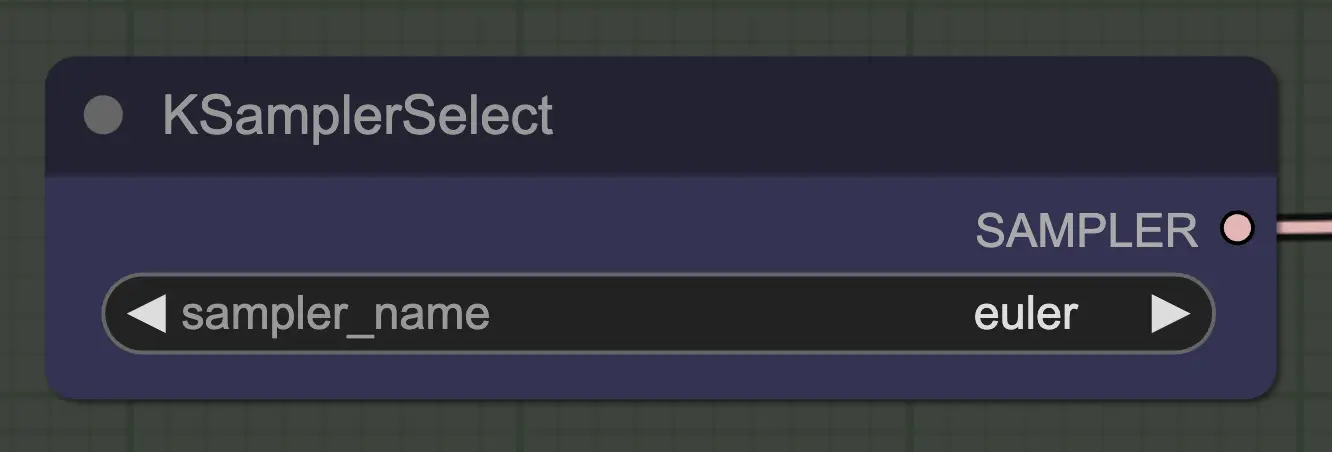
The most important thing is to use a sampler that converges! This is why we are using euler over euler a as the latter results in more randomness/instability. Ancestral samplers that add noise at each step prevent the unsampling from cleanly converging. If you want to read more about this I have always found this article useful. @spacepxl on reddit suggests that DPM++ 2M Karras is perhaps the more accurate sampler depending on use case.
Node: Align Your Step Scheduler#
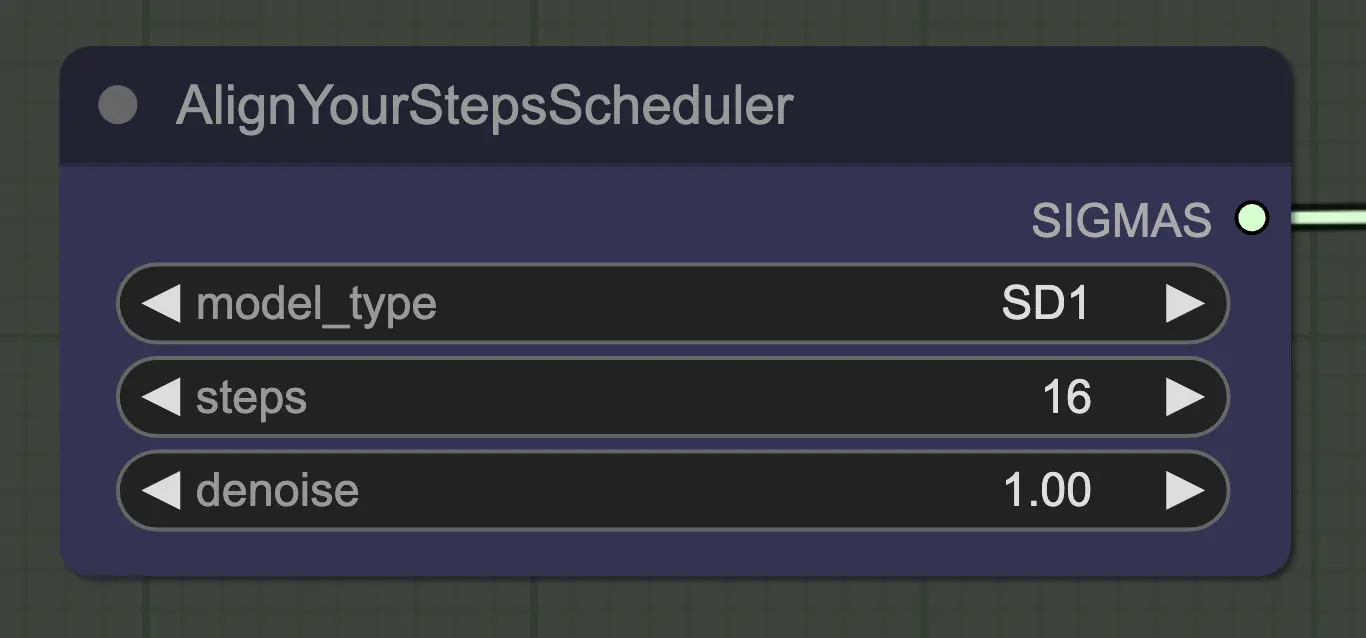
Any scheduler will work just fine here - Align Your Steps (AYS) however gets good results with 16 steps so I have opted to use that to reduce compute time. More steps will converge more fully but with diminishing returns.
Node: Flip Sigma#
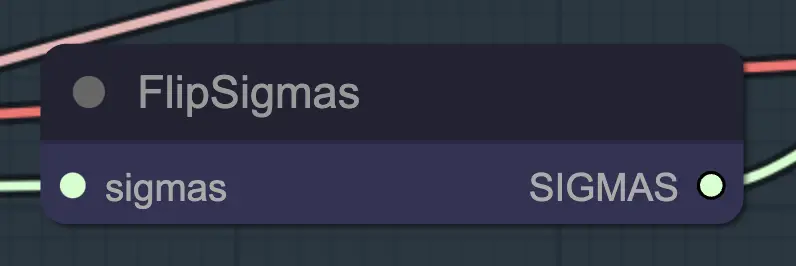
Flip Sigma is the magic node that causes unsampling to occur! By flipping the sigma schedule, we reverse the diffusion process to go from a clean input image to representative noise.
Node: Prompt#
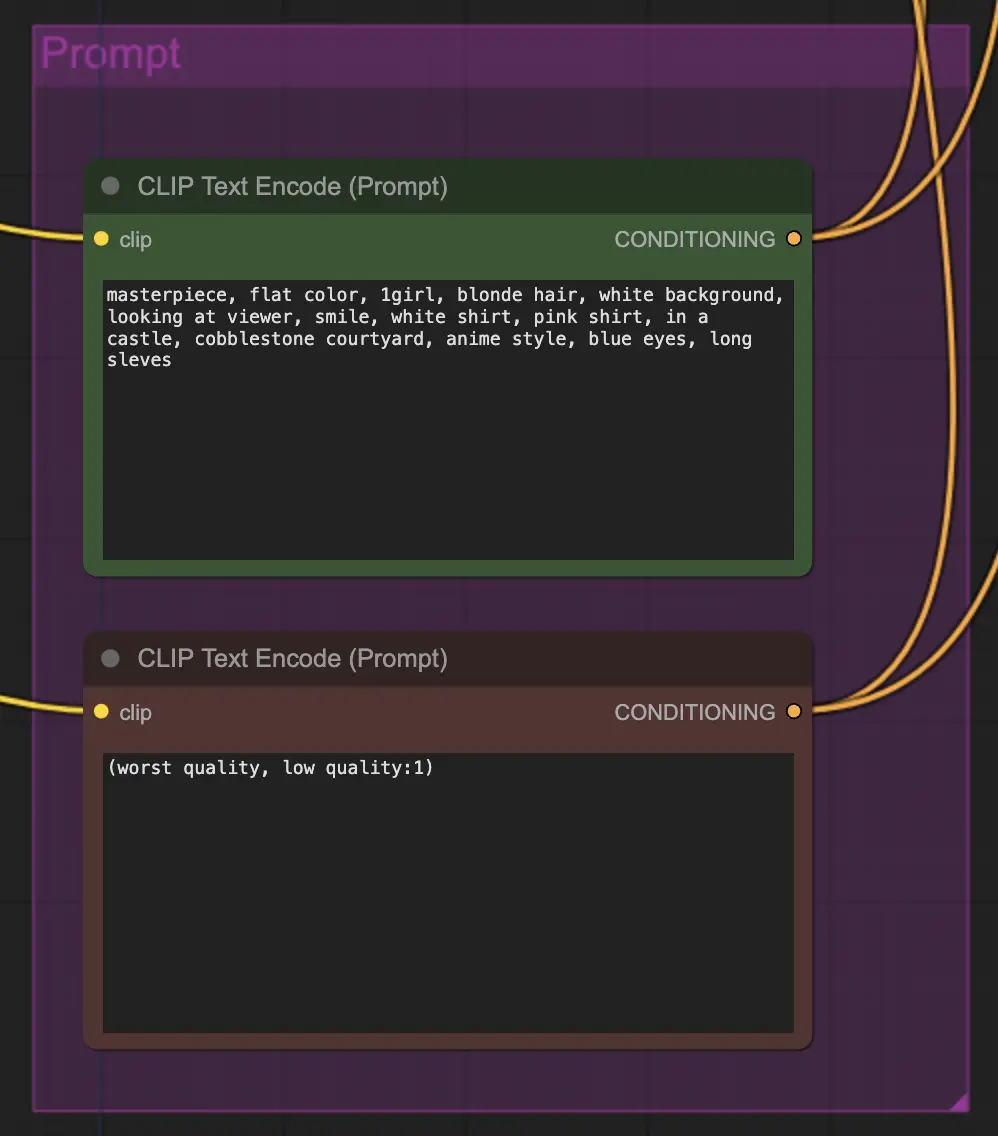
Prompting matters quite a bit in this method for some reason. A good prompt can really improve coherence to the video especially the more you want to push the transformation. For this example I have fed the same conditioning to both the unsampler and the resampler. It seems to work well generally - nothing stops you however from putting blank conditioning in the unsampler - I find it helps improve the style transfer, perhaps with a bit of loss of consistency.
Node: Resampling#
For resampling it is important to have add noise turned off (although having empty noise in the AnimateDiff sample settings has the same effect - I have done both for my workflow). If you add noise during resampling you will get an inconsistent, noisy result, at least with default settings. Otherwise I suggest starting with a fairly low CFG combined with weak ControlNet settings as that seems to give the most consistent results while still allowing the prompt to influence the style.
Other Settings#
The remainder of my settings are personal preference. I have simplified this workflow as much as I think possible while still including the key components and settings.
4. Workflow Information#
The default workflow uses the SD1.5 model. However, you can switch to SDXL by simply changing the checkpoint, VAE, AnimateDiff model, ControlNet model, and step schedule model to SDXL.
5. Important Notes/Issues#
- Flashing - If you look at the decoded and previewed latents created by unsampling in my workflows, you will notice some with obvious color abnormalities. The exact cause is unclear to me, and generally, they do not affect the final results. These abnormalities are especially apparent with SDXL. However, they can sometimes cause flashing in your video. The main cause seems to be related to the ControlNets - so reducing their strength can help. Changing the prompt or even slightly altering the scheduler can also make a difference. I still encounter this issue at times - if you have a solution, please let me know!
- DPM++ 2M can sometimes improve flashing.
6. Where to Go From Here?#
This feels like a whole new way to control video consistency, so there's a lot to explore. If you want my suggestions:
- Try combining/masking noise from several source videos.
- Add IPAdapter for consistent character transformation.
About Author#
Inner-Reflections
- https://x.com/InnerRefle11312
- https://civitai.com/user/Inner_Reflections_AI