FLUX Outpainting
This FLUX Outpainting workflow enhances the image extension process by first using SDXL for the initial outpainting, followed by FLUX to refine and repaint the expanded areas. By using this workflow, you will create seamless, high-quality outpaintings, restore details, and upscale for a polished, cohesive result.ComfyUI FLUX Outpainting Workflow
- Fully operational workflows
- No missing nodes or models
- No manual setups required
- Features stunning visuals
ComfyUI FLUX Outpainting Examples

ComfyUI FLUX Outpainting Description
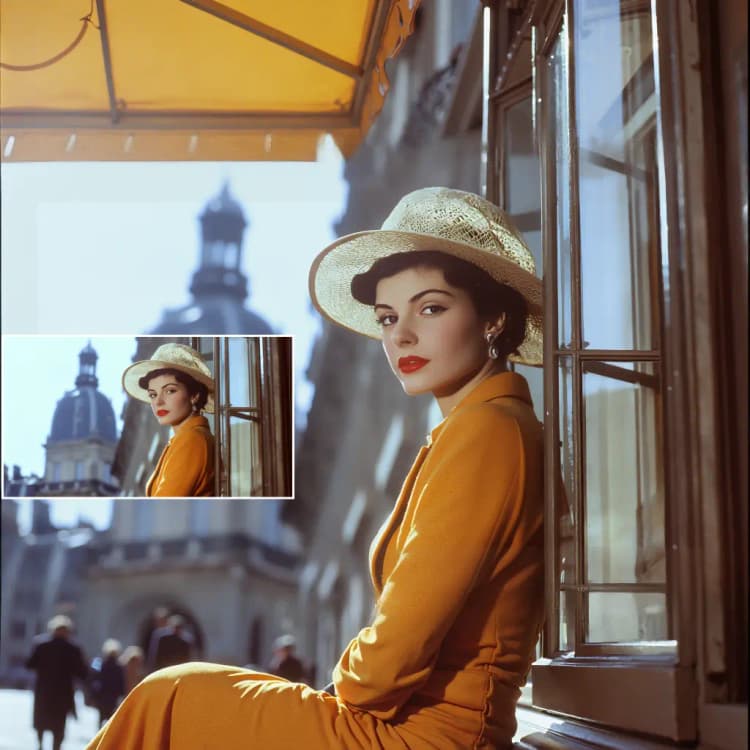
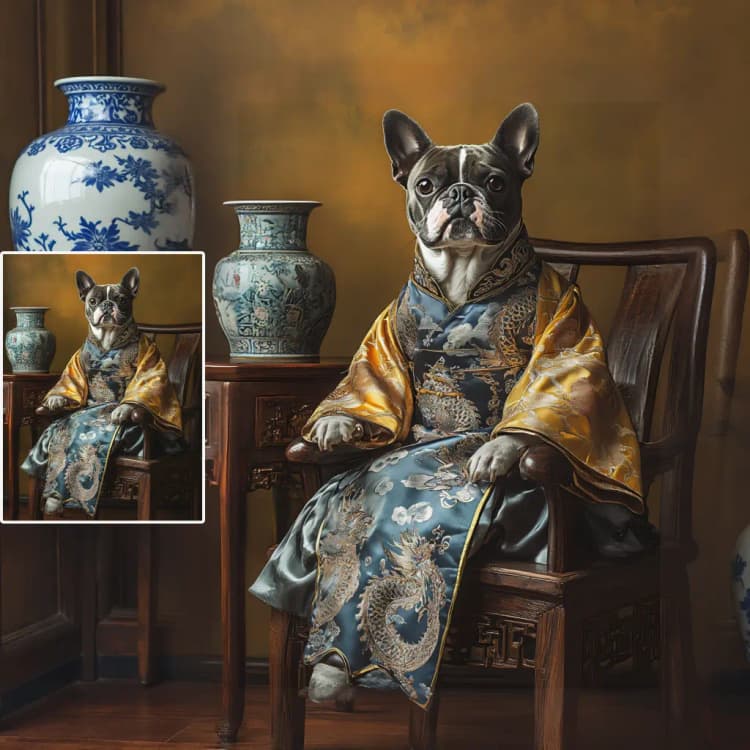
The FLUX Outpainting workflow is perfect for seamlessly expanding images beyond their original boundaries. The process begins by using SDXL for the initial outpainting, which establishes a solid base (since we found that starting with FLUX alone didn’t provide optimal results). After this, FLUX is applied to refine and repaint the expanded areas, enhancing details and ensuring the final output is more realistic and polished. The power of FLUX is evident in how it elevates the quality of the outpainted sections, blending them flawlessly with the existing content. This comprehensive tutorial will walk you through each step of the workflow, from preparing the image to upscaling the final FLUX output.
This FLUX Outpainting workflow was created by My AI Force, and we encourage you to visit for more in-depth insights into FLUX Outpainting. All credit goes to him for his contribution to the community.
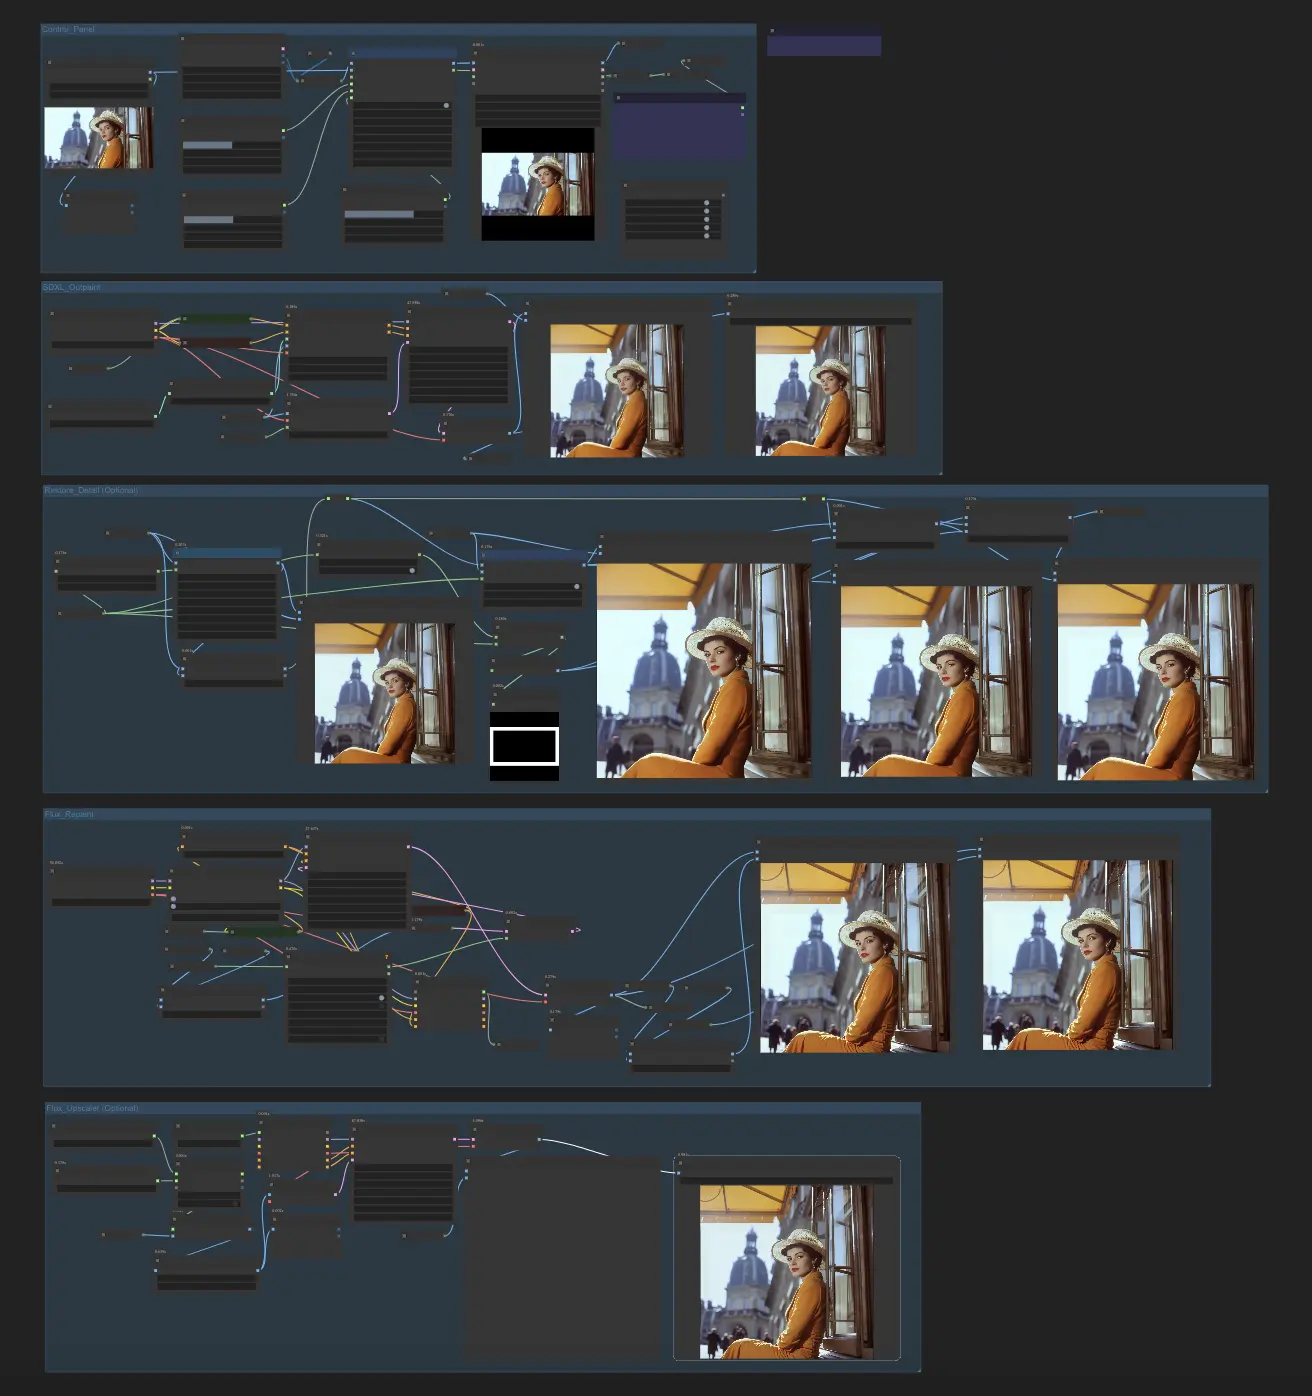
1. Control Panel Setup
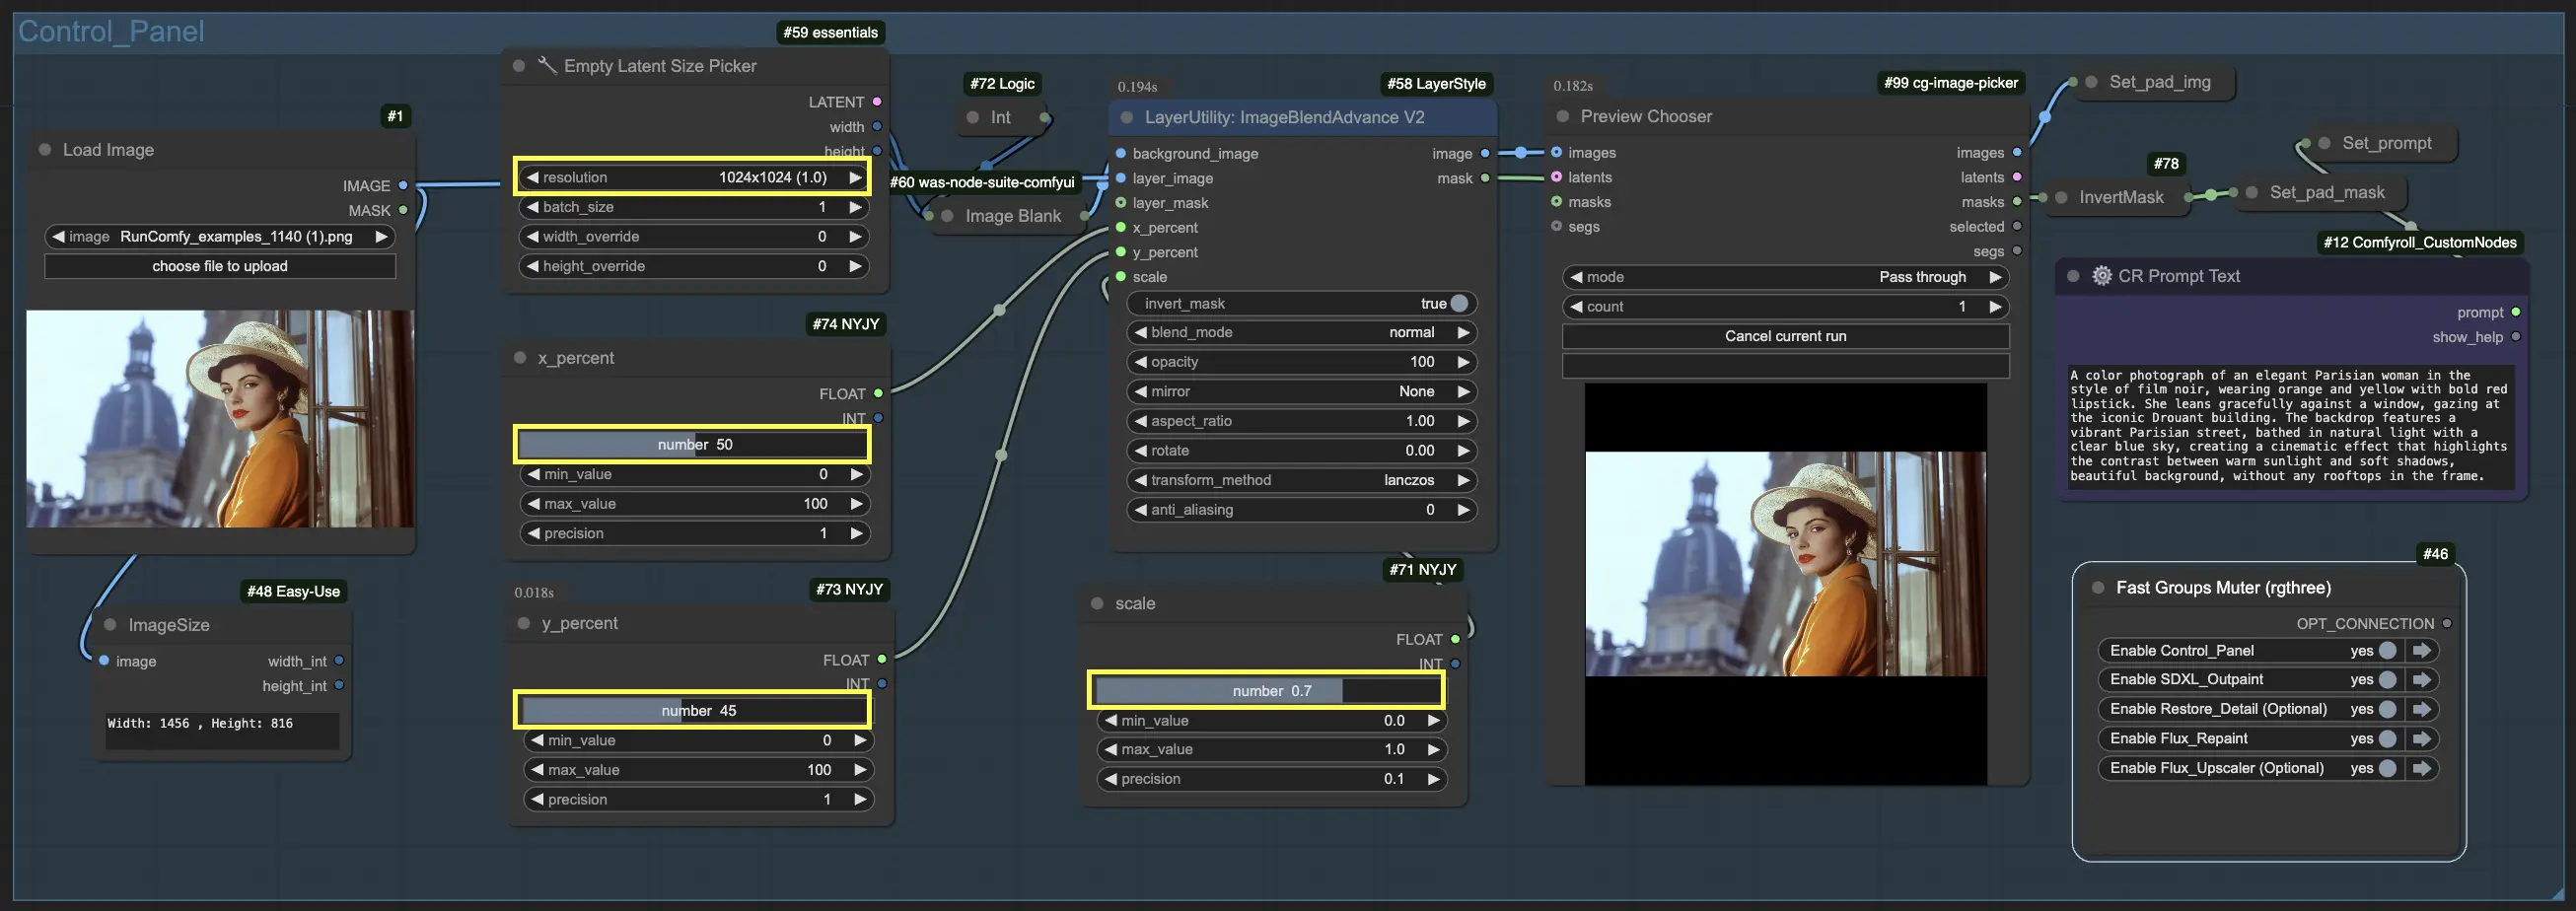
Initial Preparation
Start by loading your source image with the LoadImage node. For the best results, choose high-resolution images (between 512x512 and 2048x2048 pixels). High-resolution images provide enough detail for the outpainting process, ensuring the final result remains sharp and clear.
ImageBlendAdvance Node Configuration
- Empty Latent Size Picker:
- Resolution: Choosing the right resolution is crucial for the quality and proportions of the outpainting.
- Positioning Parameters: Adjusting the position and size of the outpainting canvas helps control the space allocated for the expansion.
- X Position: Adjusts the horizontal alignment of the outpainting.
- Y Position: Controls vertical alignment.
- Scale: Changes the size of the outpainting within the given background.
2. SDXL Outpainting Configuration

In this phase, the SDXL model is applied for the initial outpainting, extending the content beyond its current boundaries. The SDXL model fills in the new areas, providing a smooth and coherent background that matches the established style and content. This initial fill is essential for creating the base for the outpainting.
To refine the outpainting and ensure the expanded areas align perfectly, ControlNet is used. ControlNet adds additional guidance to the outpainting model, ensuring that the new sections are generated according to specific rules or patterns that maintain the consistency of the overall design. It fine-tunes how the SDXL outpainting handles new areas, resulting in smoother transitions and a more cohesive final composition.
3. Detail Restoration Process

The Detail Restoration Process ensures that the features within the outpainting that may have been altered are preserved. This step ensures that the new outpainted areas integrate naturally with the extended composition
- Overlaying the Original Image: Use the ImageBlend node to place the original image over the outpainted version. This brings back the finer details that the outpainting process may have blurred or changed. While this step helps maintain original features, it can sometimes create visible seams or mismatched edges between the two images.
- Seam Elimination Using a Mask: To fix any visible seams, create a mask that traces the outline of the original image. This mask allows for selective blending, ensuring that the overlay is applied only where needed. Using the Image Blend by Mask node, the two images are merged smoothly, reducing any noticeable edges and achieving a seamless transition.
4. FLUX Repainting Process

The FLUX Repainting Process is where the outpainting is refined to improve detail and realism. This crucial stage re-renders the expanded sections, blending them smoothly with the rest of the composition. FLUX provides fine control over textures and details, enhancing the outpainted areas for a more unified, polished result. This process ensures that the outpainted sections are enhanced with intricate textures, making the entire work appear cohesive and natural.
5. FLUX Upscaling Outpainting Image

The Upscaling Process is the final step, where the resolution is increased to enhance the overall clarity. This stage sharpens edges and refines details, ensuring the expanded areas of the outpainting blend seamlessly. By upscaling, the outpainting becomes more defined, ensuring that the final result is both high-quality and polished. This step is essential for producing high-resolution outpainting that looks professional and seamlessly integrated with the rest of the composition.


